
1.1 Create a course
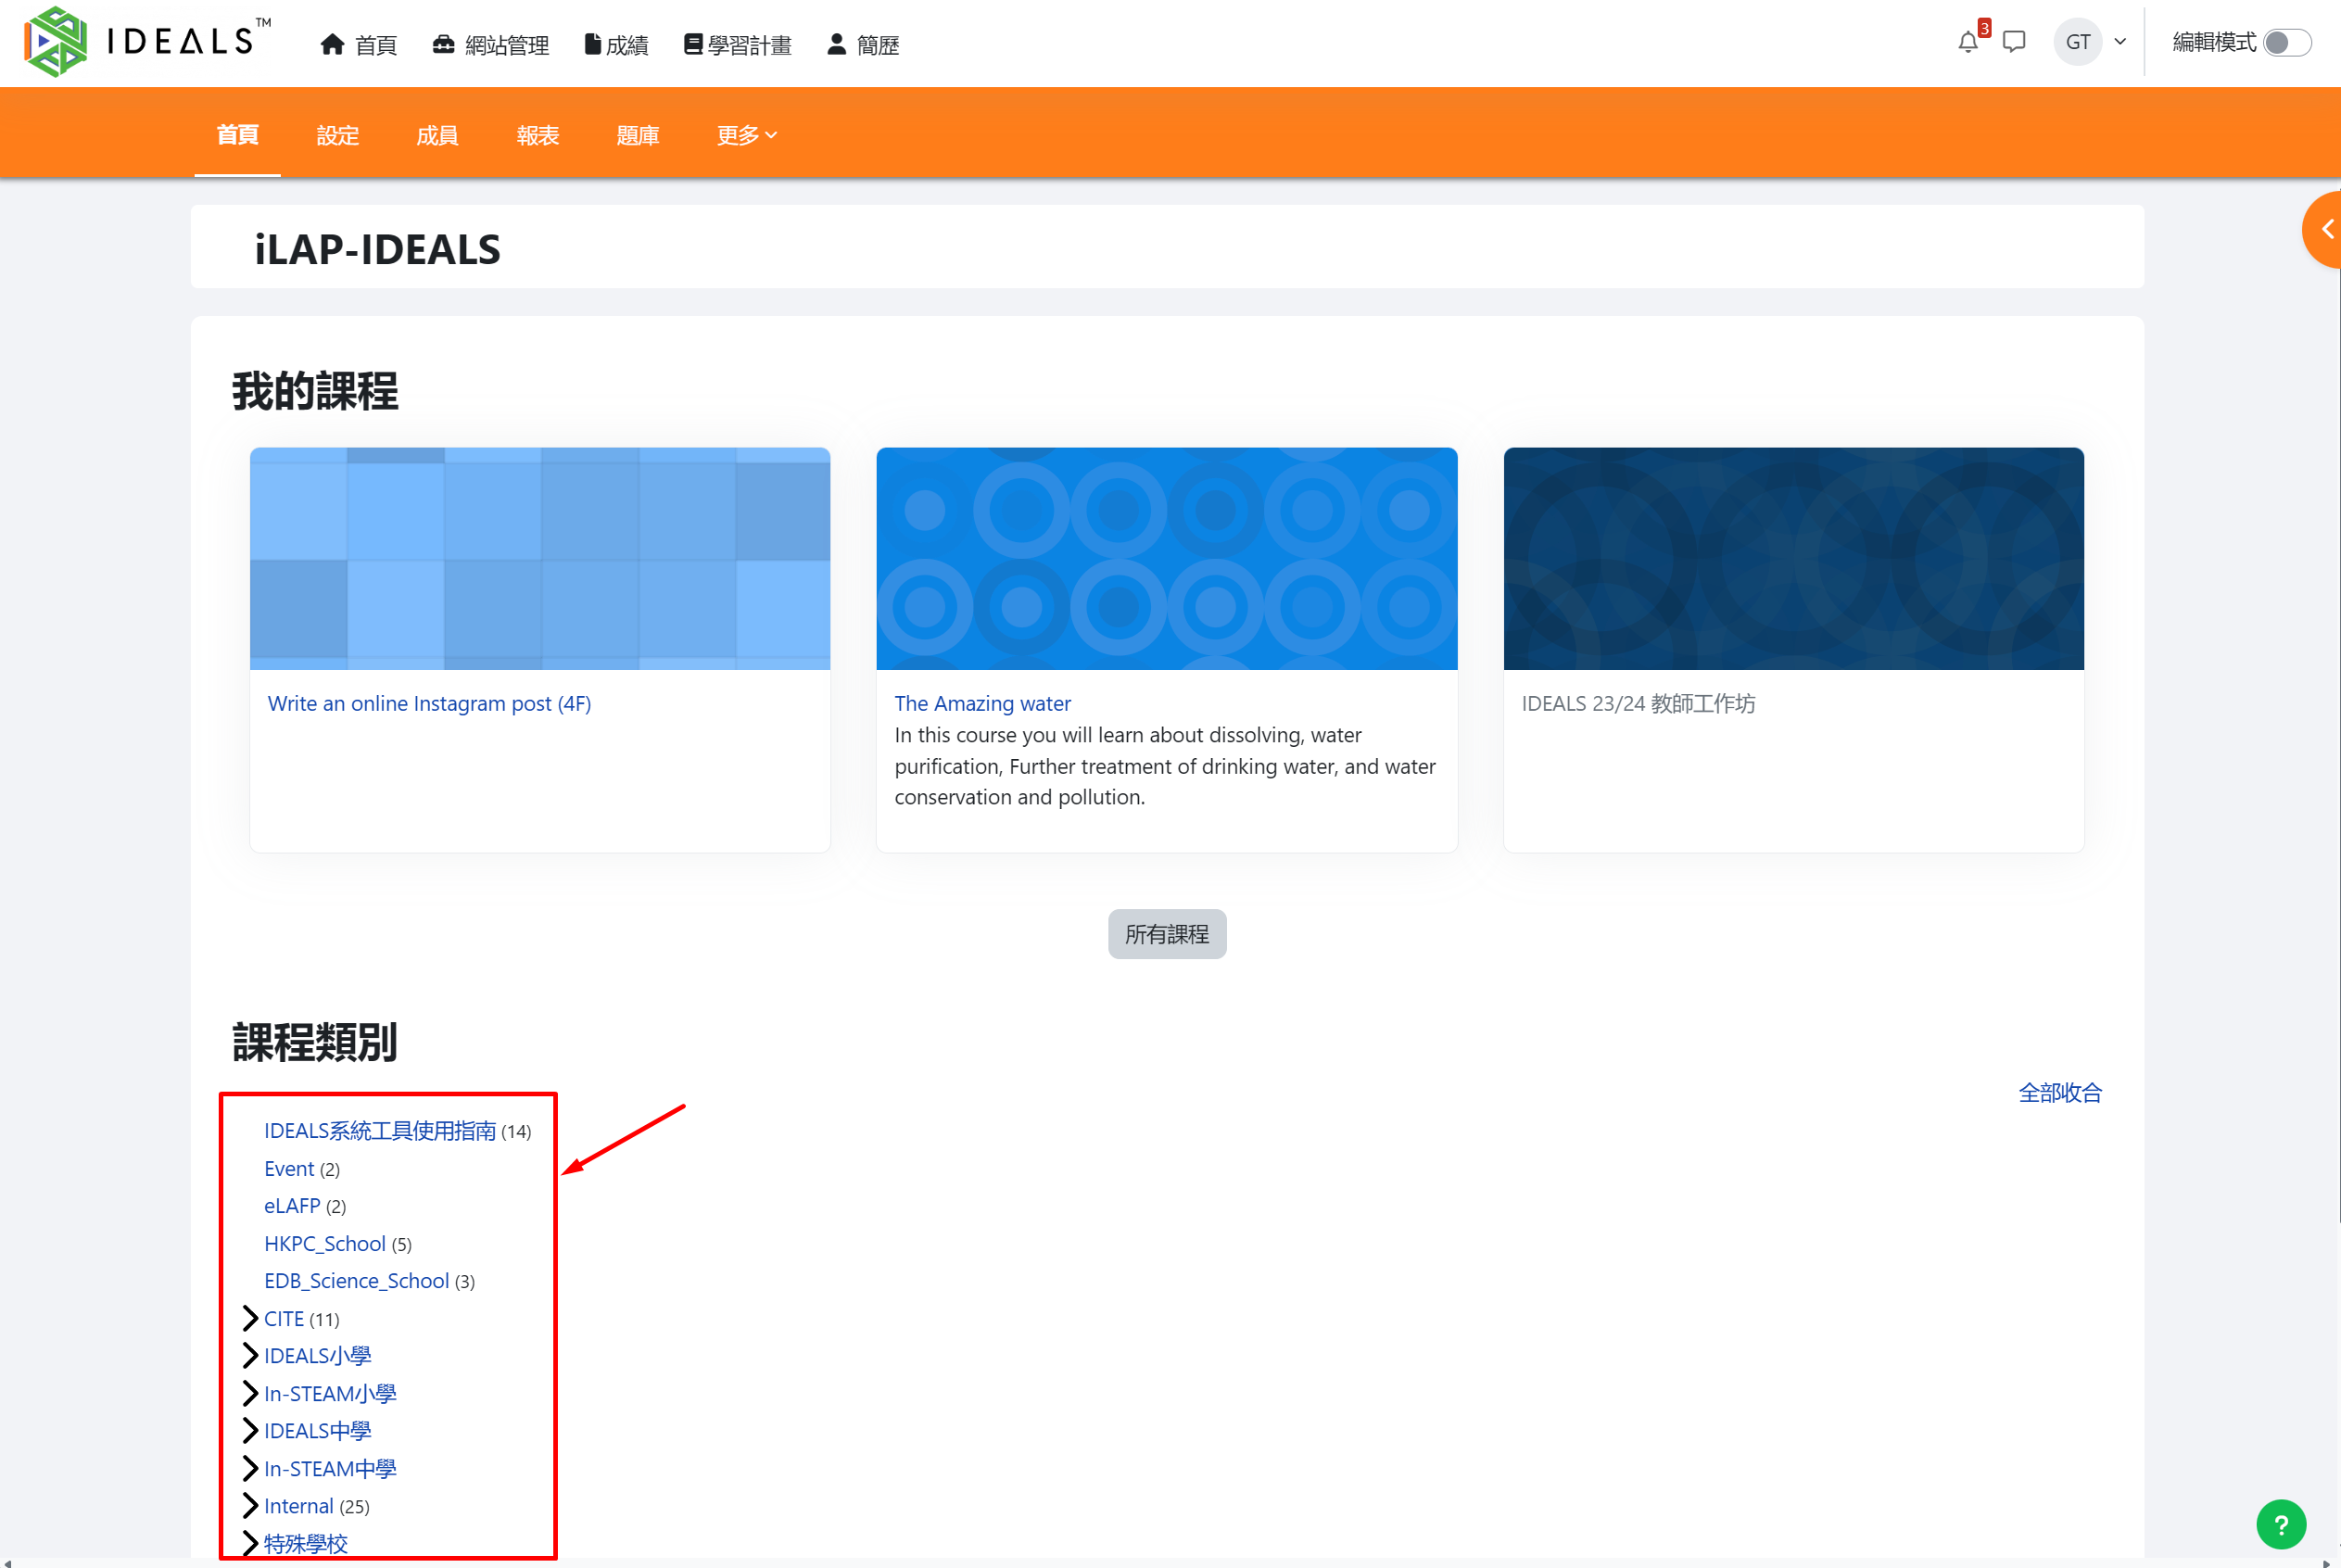
After logging into iLAP and entering the homepage, first select any course category to serve as the "parent category" for the new course.
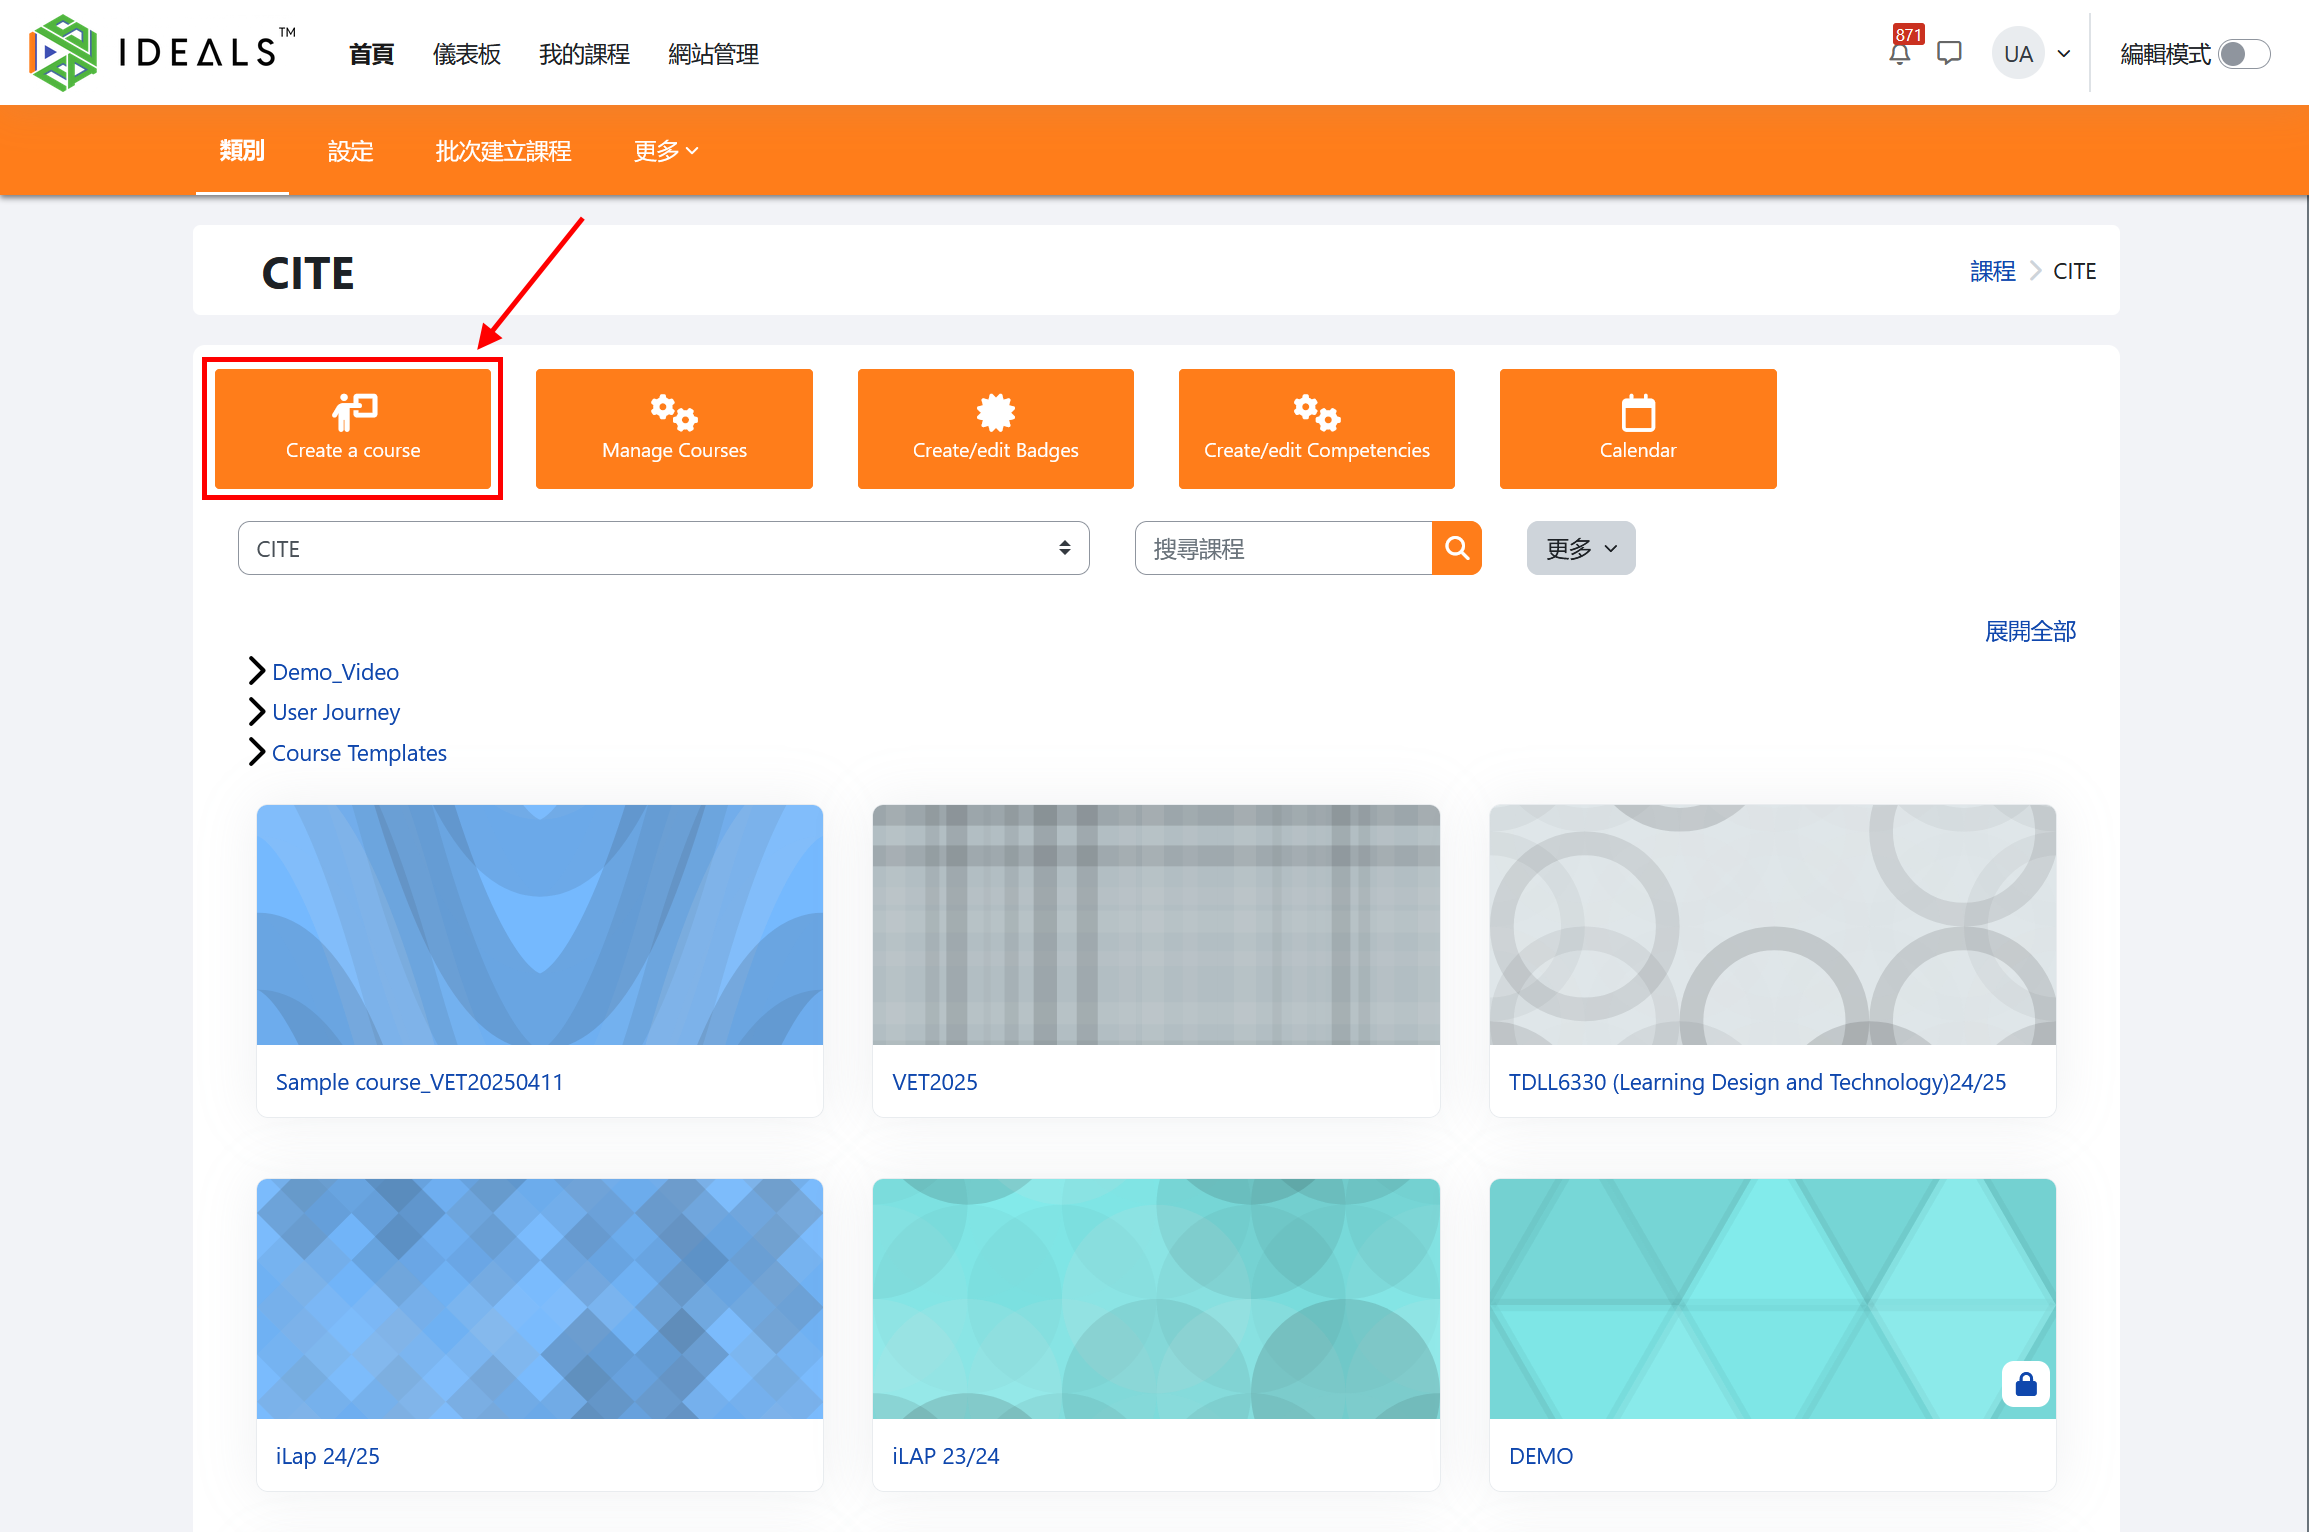
After entering the course category, click the "Create a course" button at the top left.
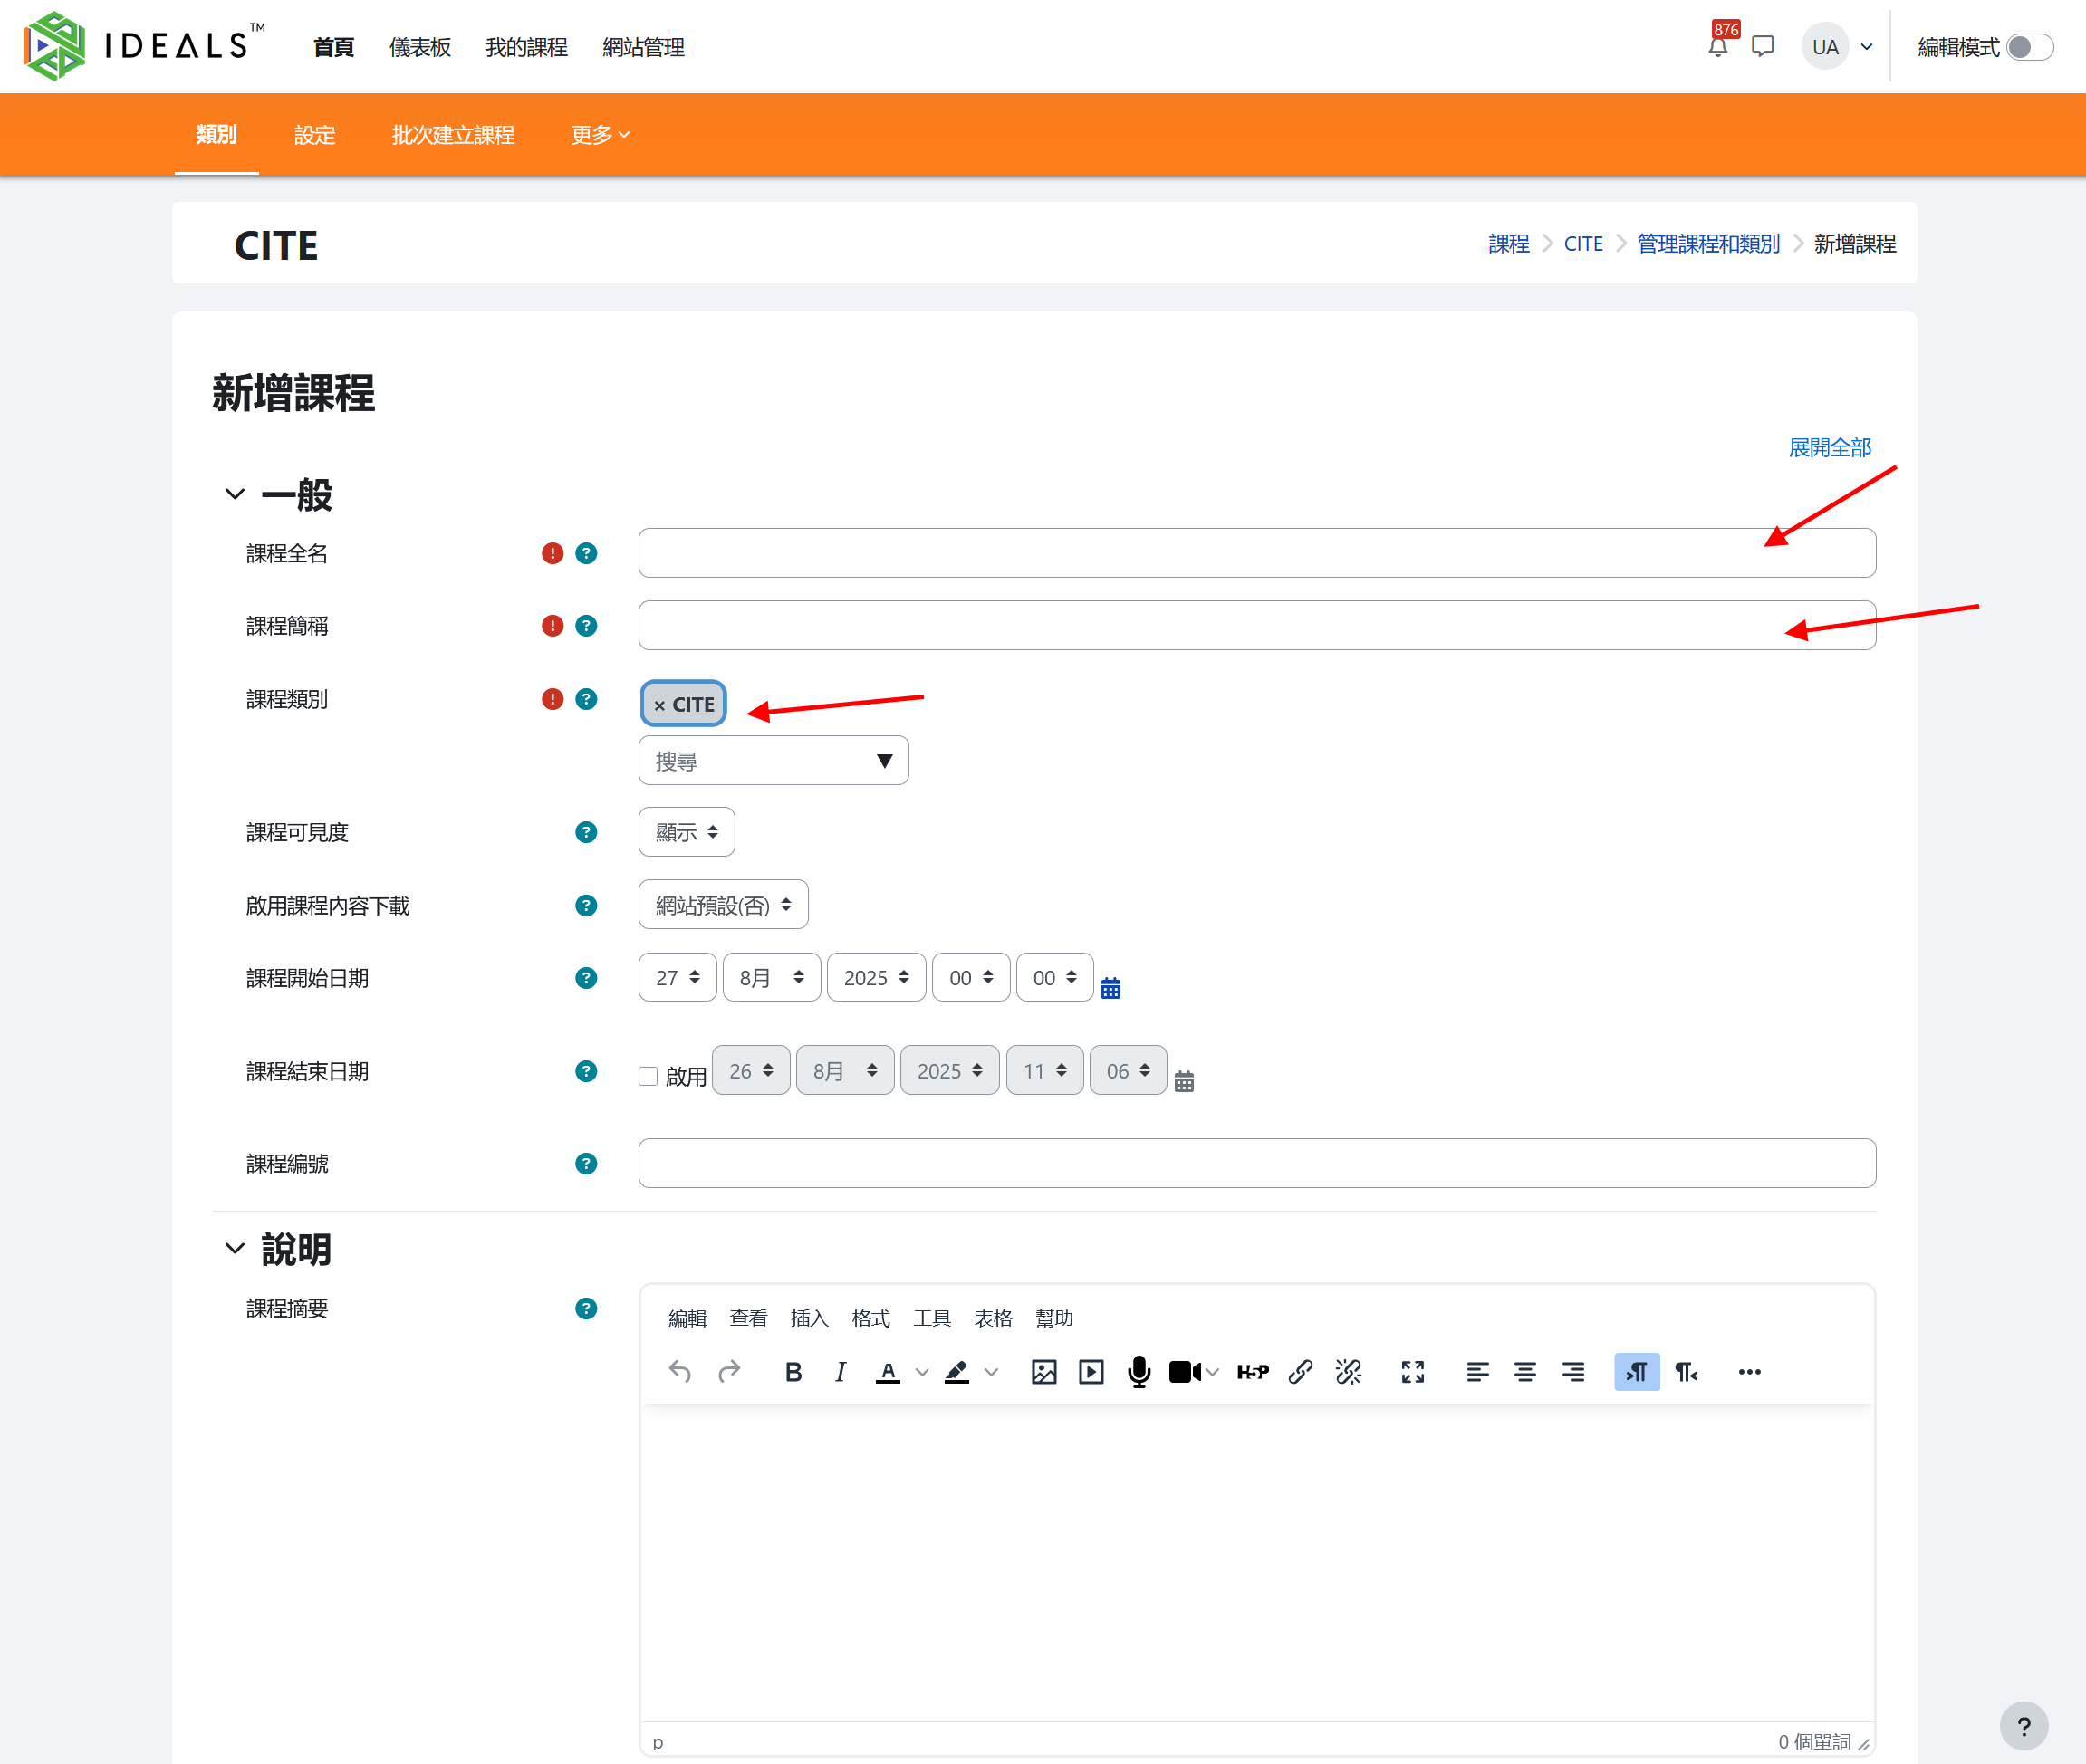
On the "Add a new course" form, fill in the basic course information. Only three fields are required:
- Course full name: The detailed name of the course (e.g., S1 Robotics Design 2025-2026)
- Course short name: Used when interface space is limited, such as in page paths, and must be unique within the platform (e.g., Robotics_2526)
- Course category: (Already selected)
All other settings are optional. The following explains some commonly used settings:
- Course visibility: If you want to hide the course from students initially, you can select "Hide".
- Course start/end date: If you want students to only access the course within a specific period, you can set a time range.
- Course summary: You can enter a brief course introduction to let students and teachers know the details of the course.
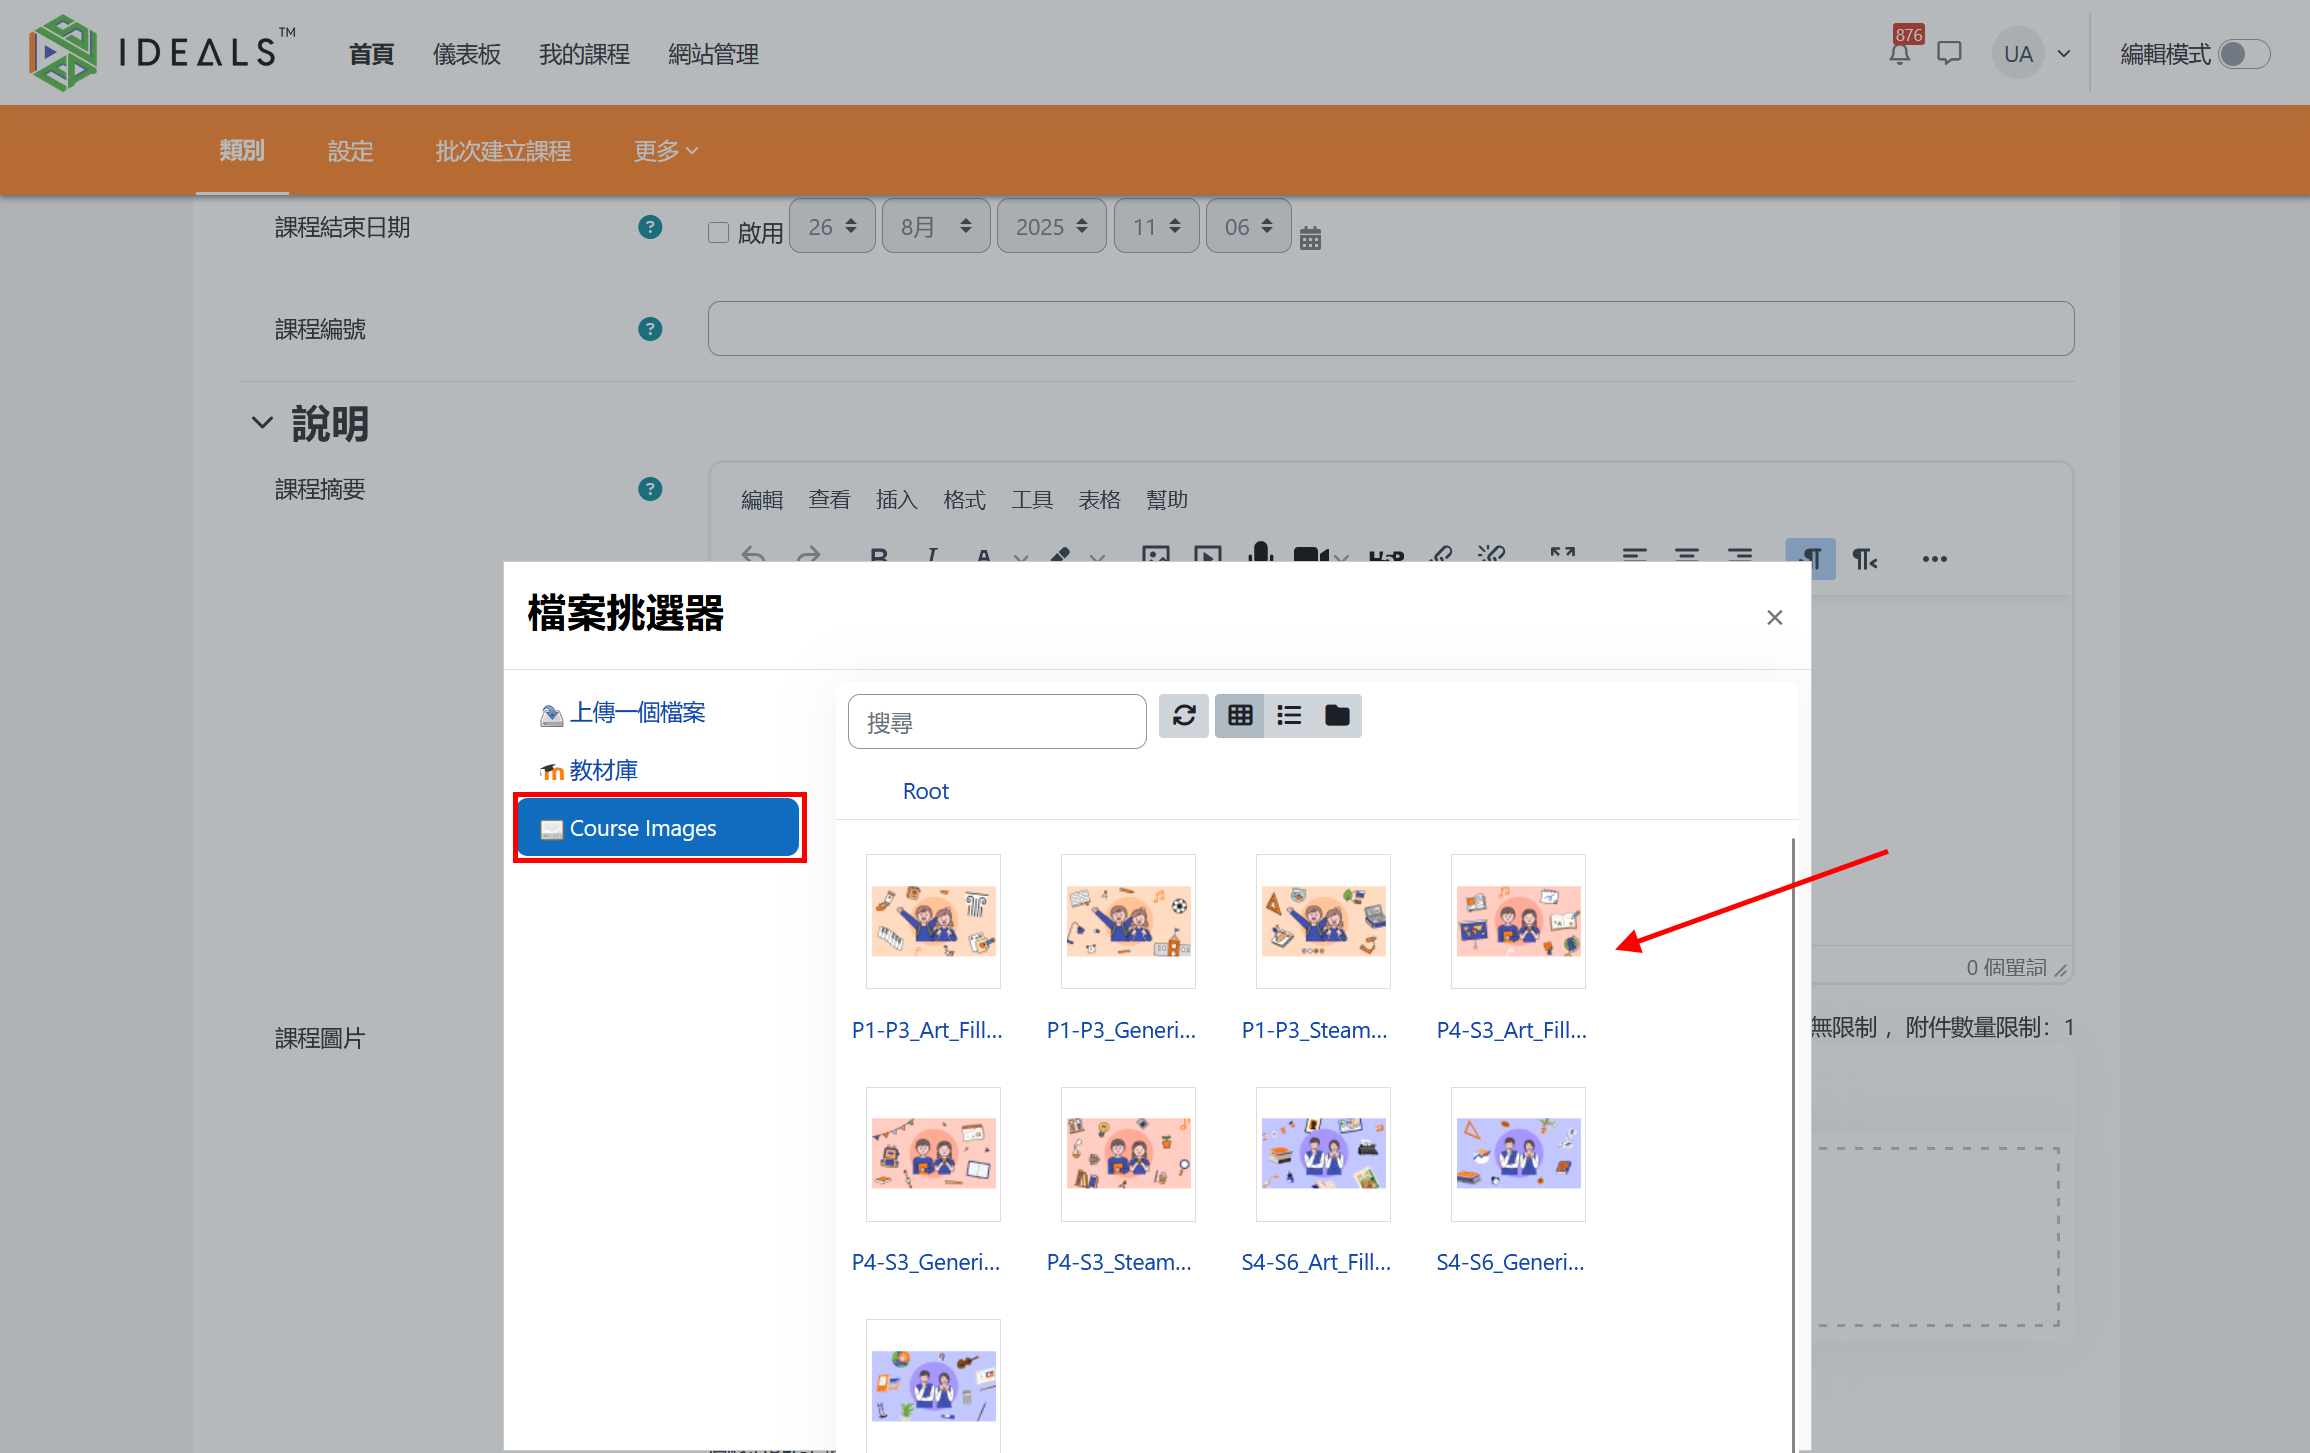
- Course image: This optional image will be displayed as decoration under "My Courses" and on the homepage. You can upload an image yourself, just drag and drop the image into the dashed box.
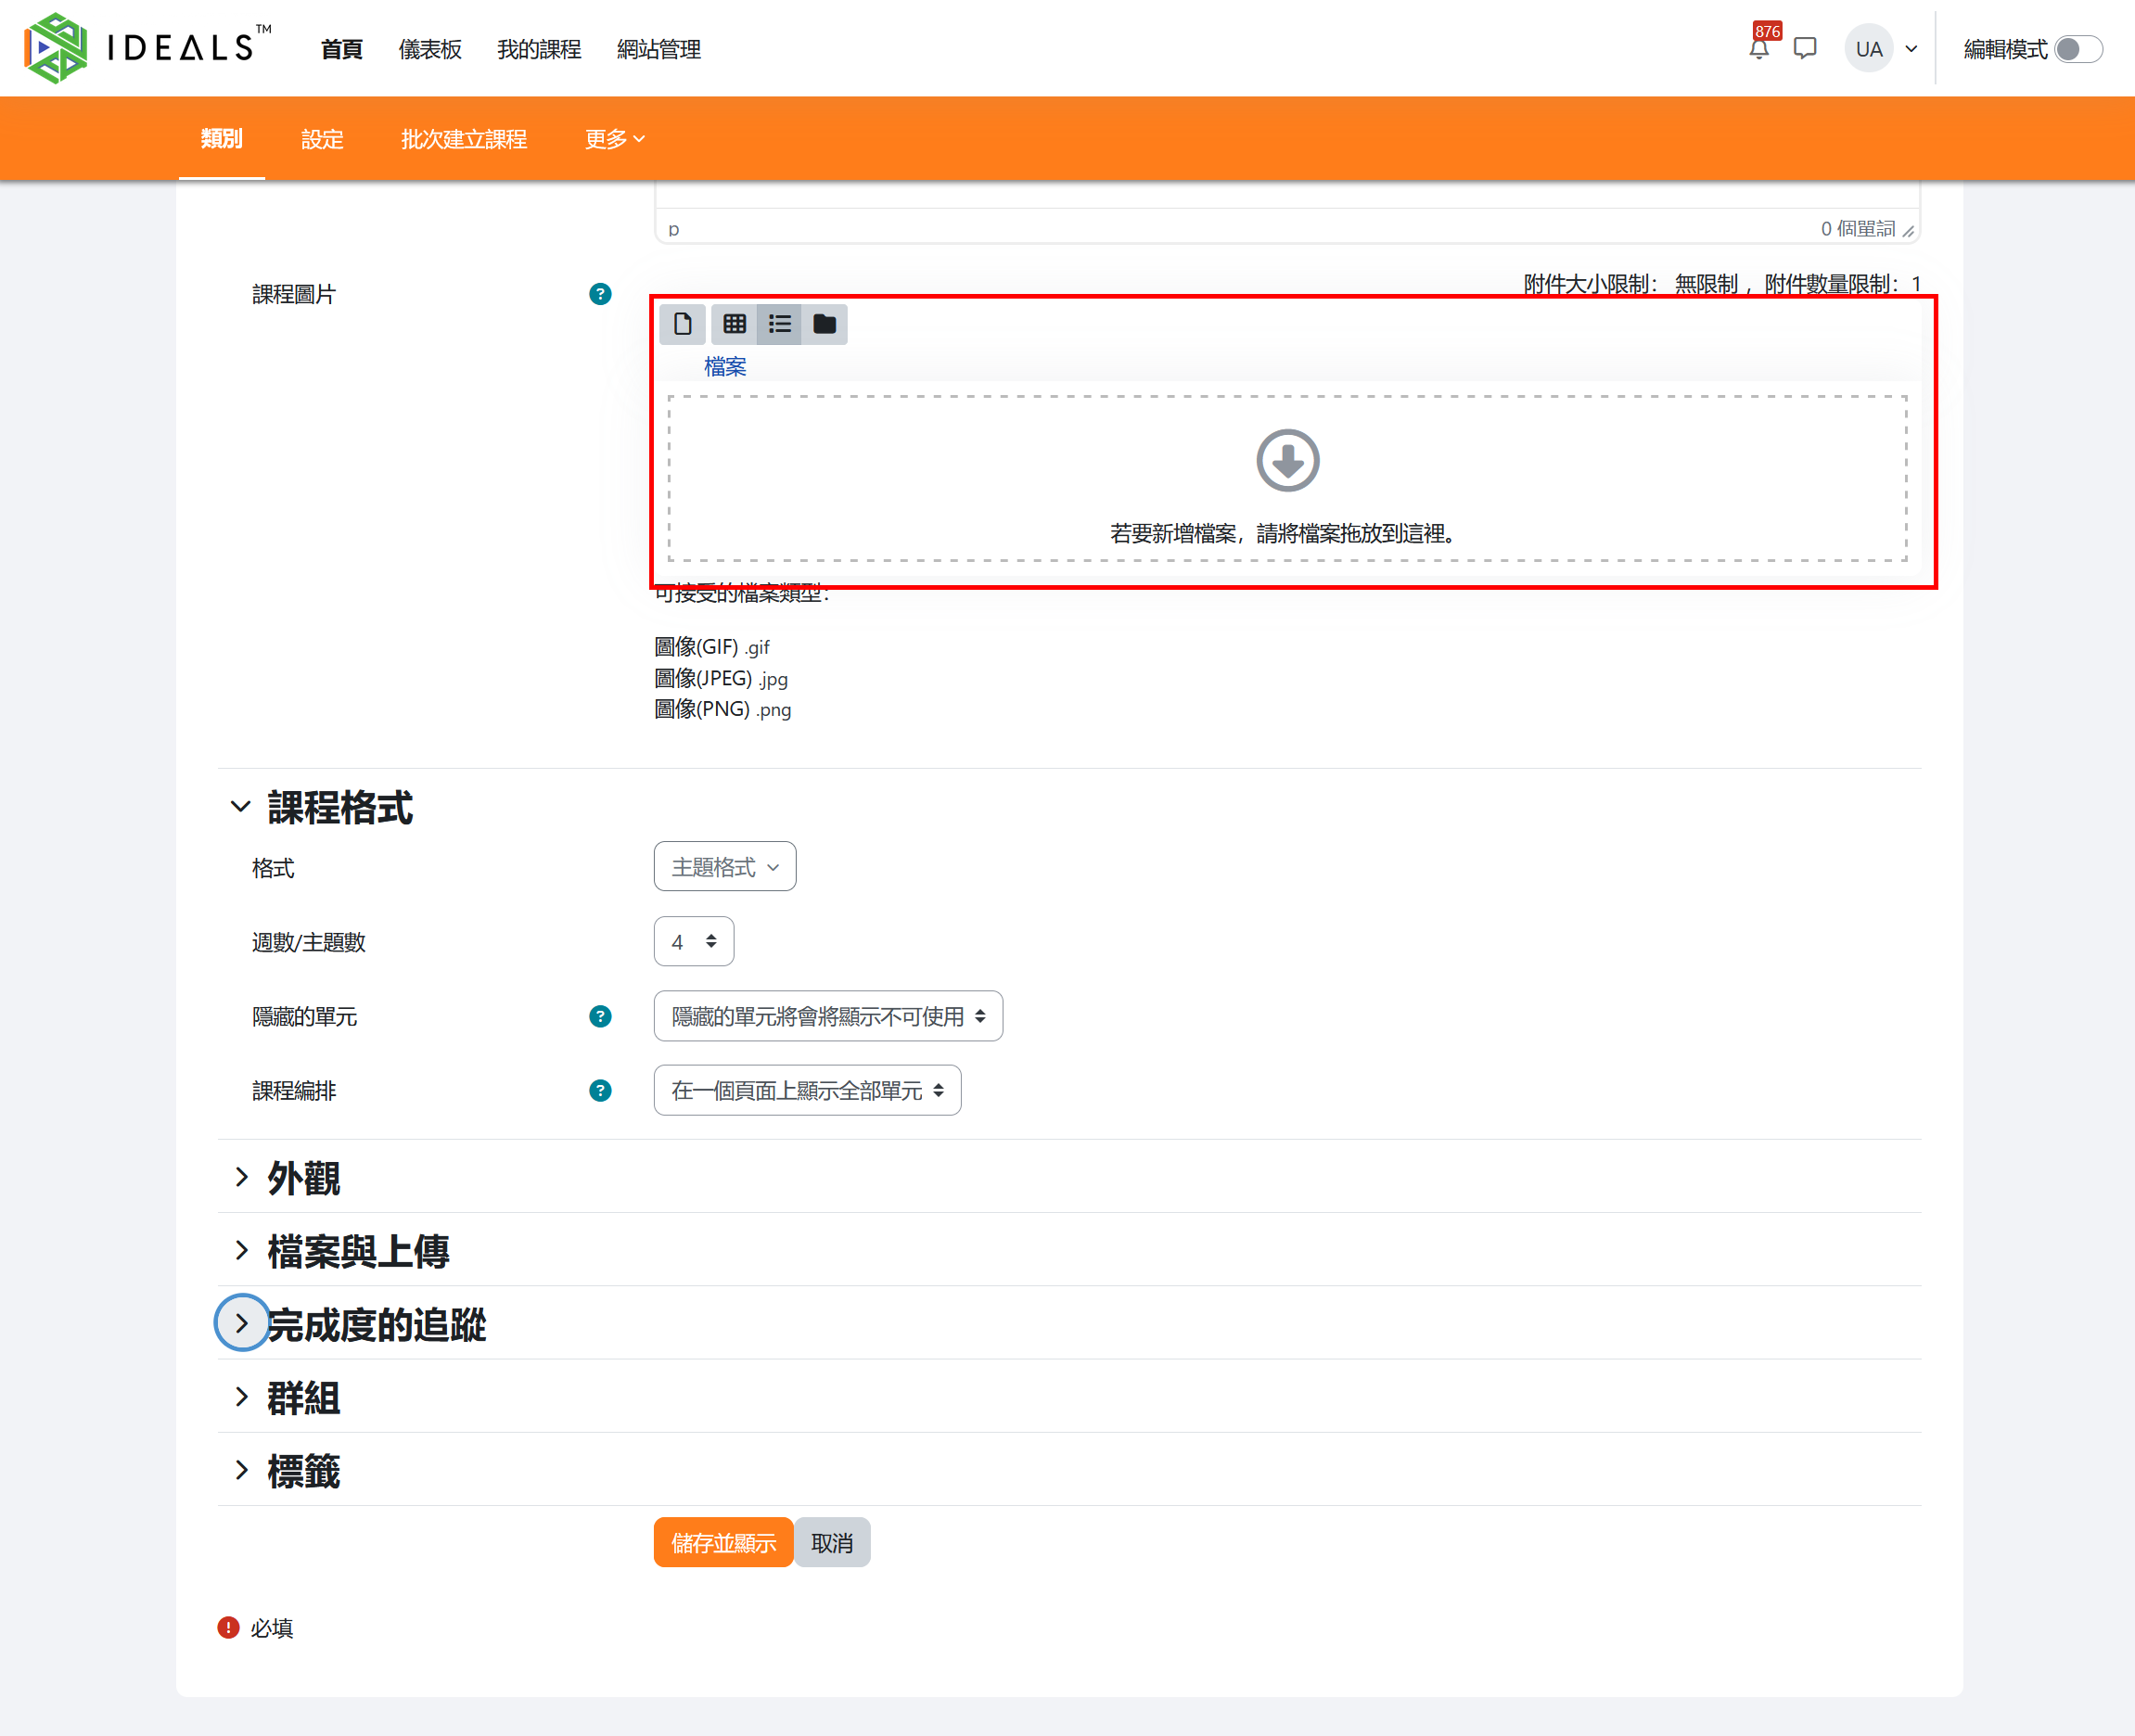
You can also click the dashed box to open the "File Picker," then click "Course Images" on the left, where some default images are provided for users to use freely.
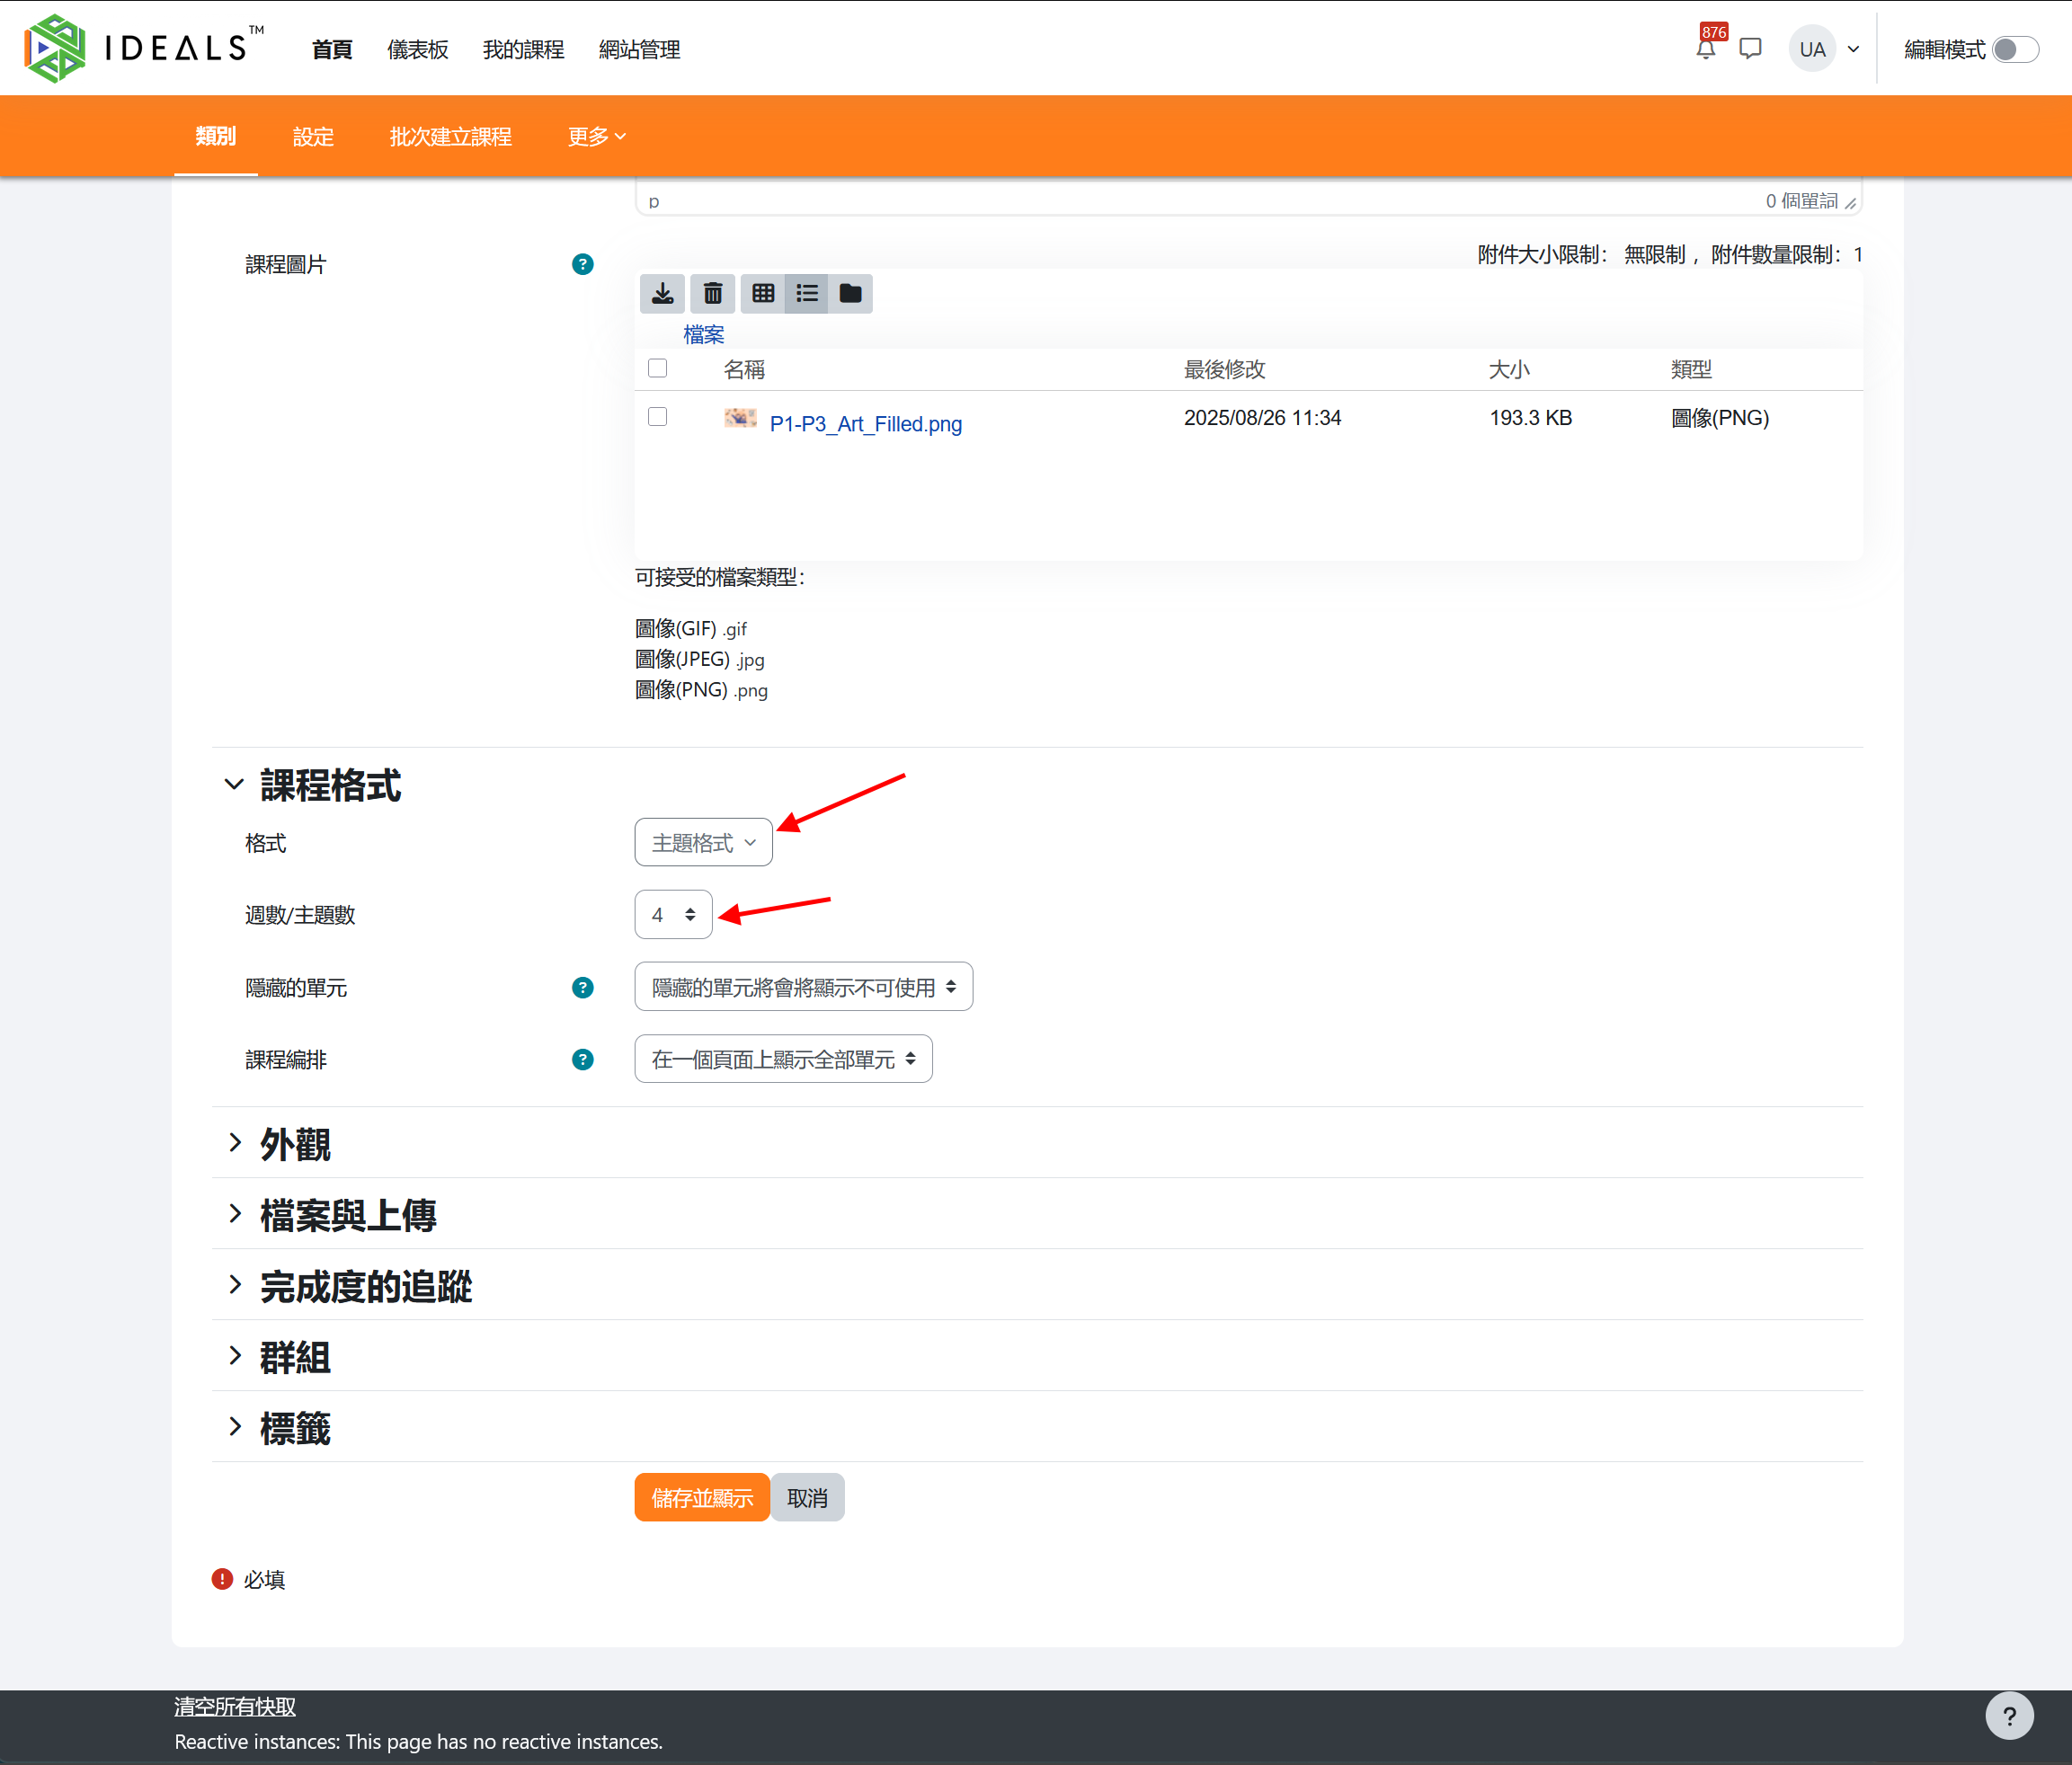
- Course format: The default "Custom sections" should be suitable for most situations. You may want to increase or decrease the "Number of sections" (default is 4). This number determines how many sections are available in the central area of the course layout for you to organize activities and resources.
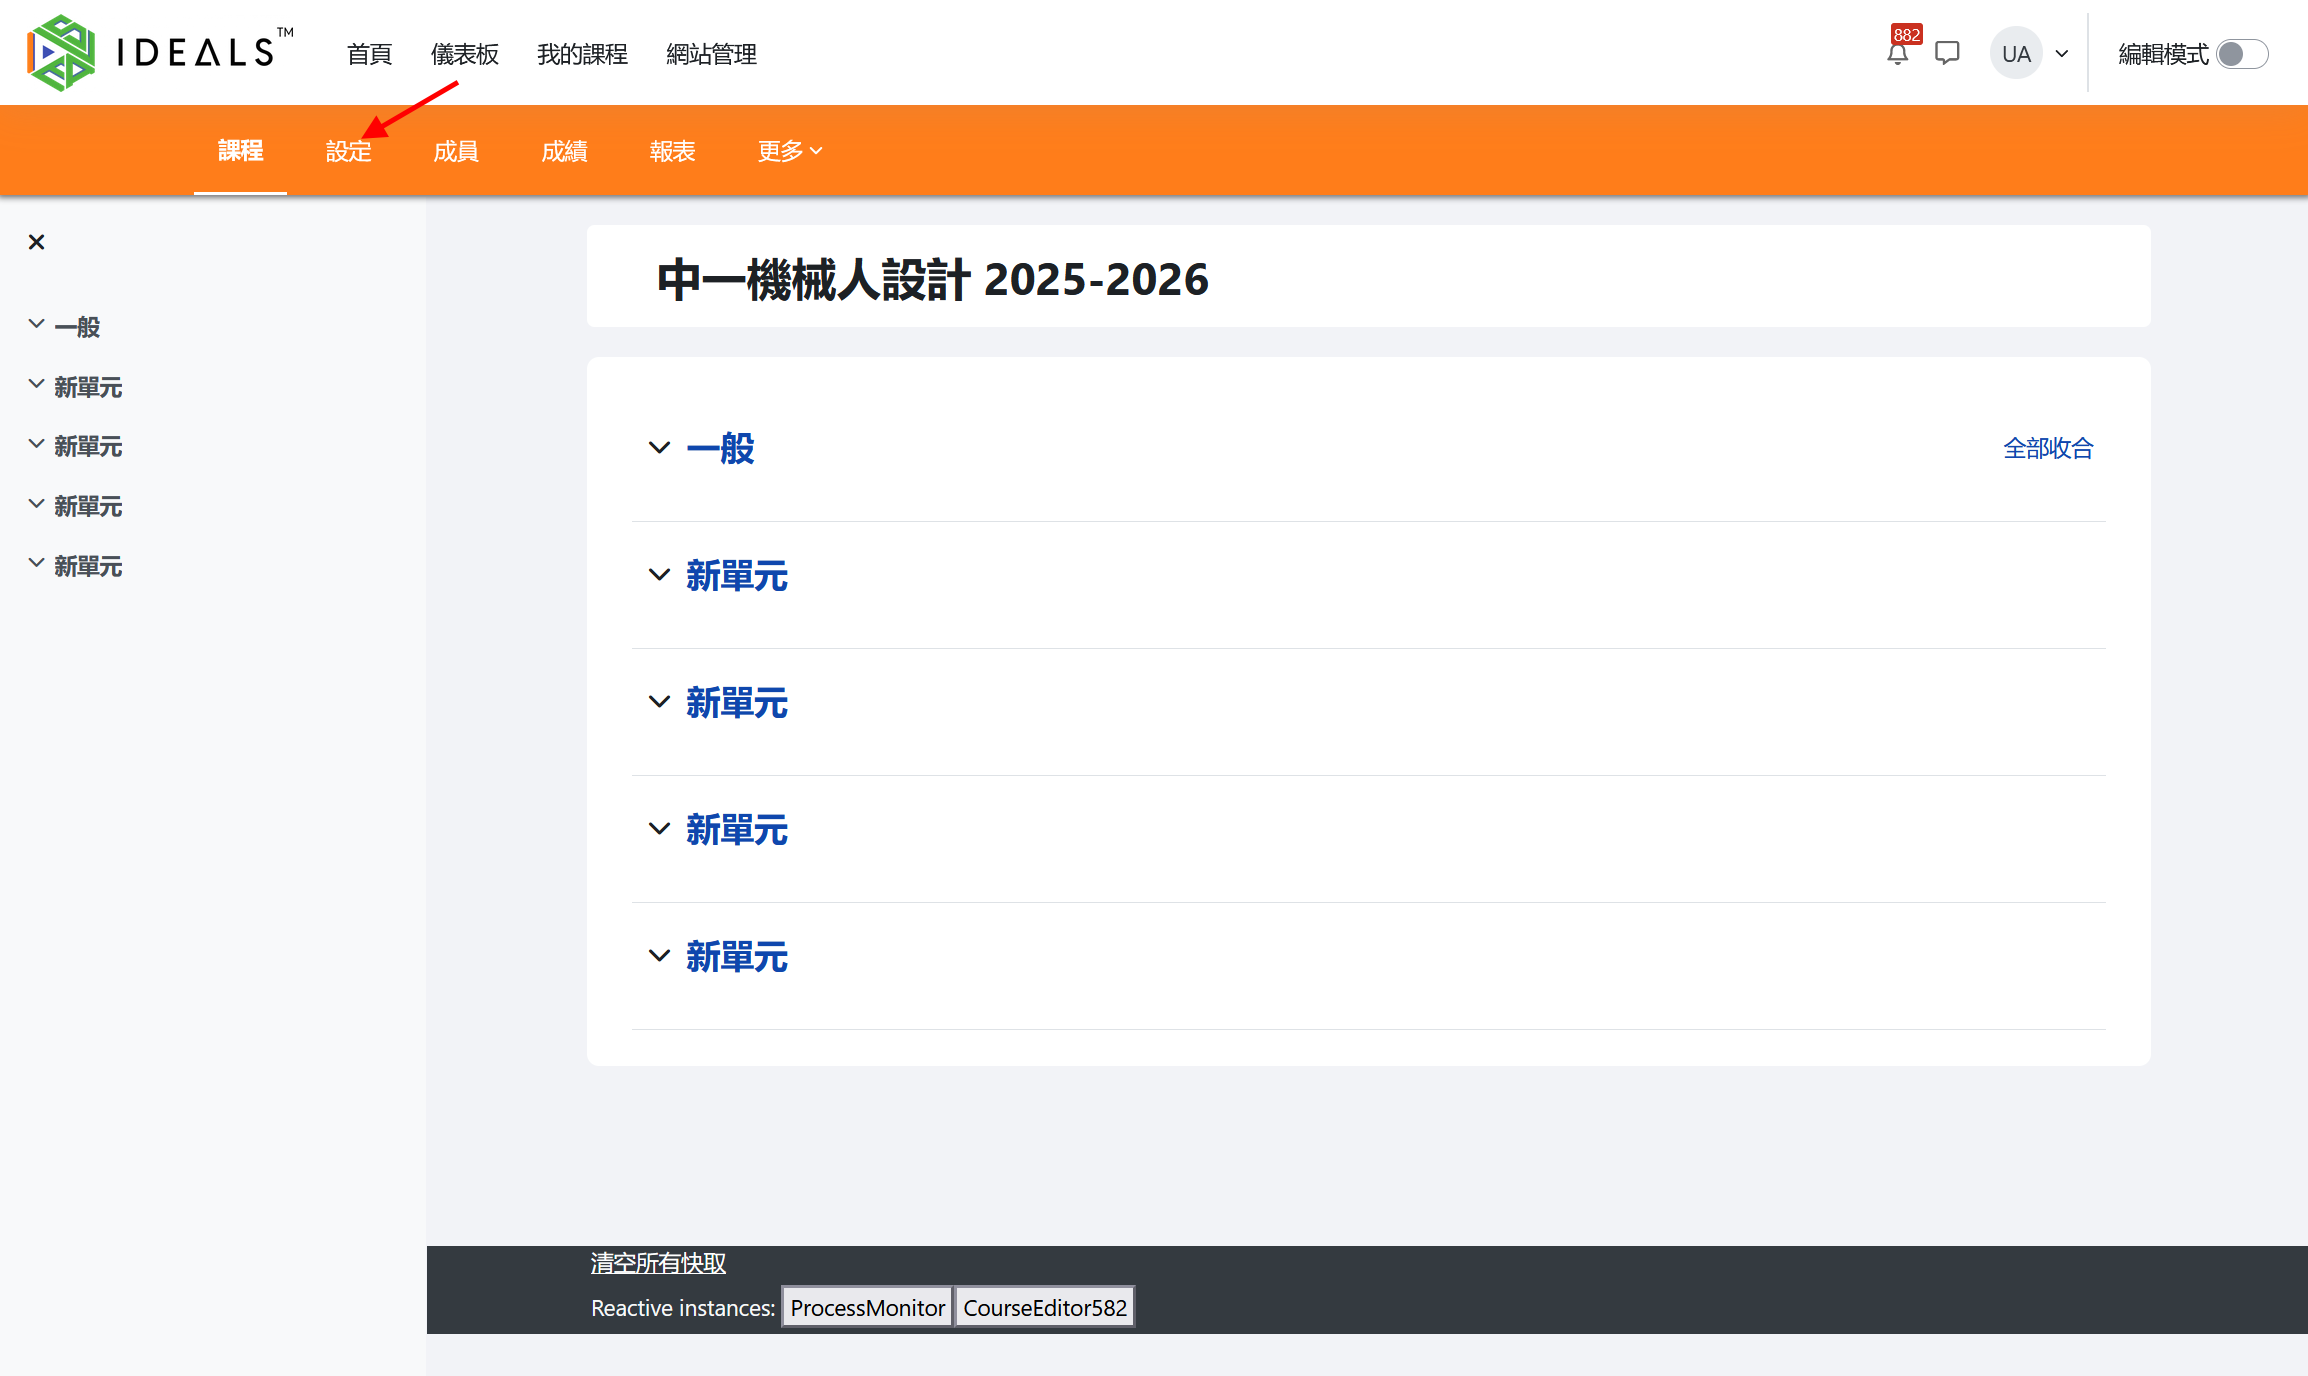
After completing the settings, please click the "Save and display" button at the bottom of the page to view the course page. Teachers can click "Settings" at any time to make changes.
The next step you may want to take is to enroll students to the newly created course. Please refer to the Student Enrollment Management Guide.