10.3.2 Sharing Designs within a Group - Creating and Managing a Group
In this section, you will learn how to create a new group, share designs, and manage members.
1. Creating a New Group
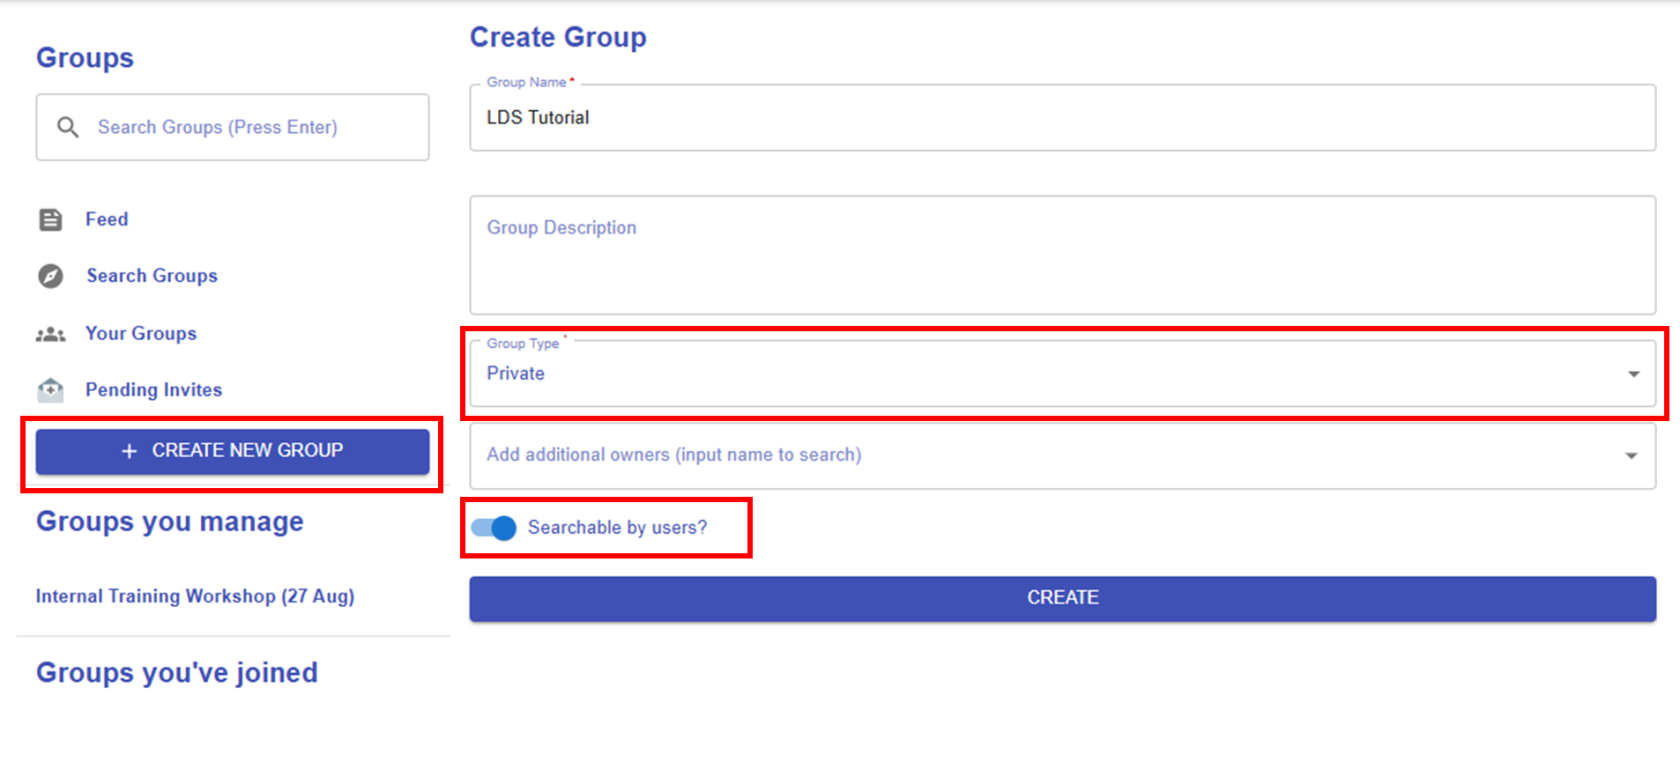 Figure 10.13: Creating a New Group
As mentioned, there are two types of groups, "Private" and "Public". If you choose "Private", you will see an additional option: "Searchable by users". If you enable this option, your group will appear in the group list and can be searched by users. You can change this setting at any time after creating the group.
2. Managing a Group
|
2.1 Share a Learning Design
Figure 10.14: Sharing a Design within the Group
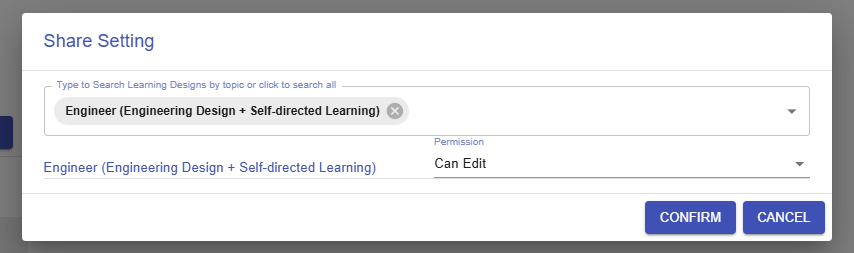
By clicking the "SHARE LEARNING DESIGNS" button, you can select an existing design to share and set permissions to either "Can Edit" or "Can View".
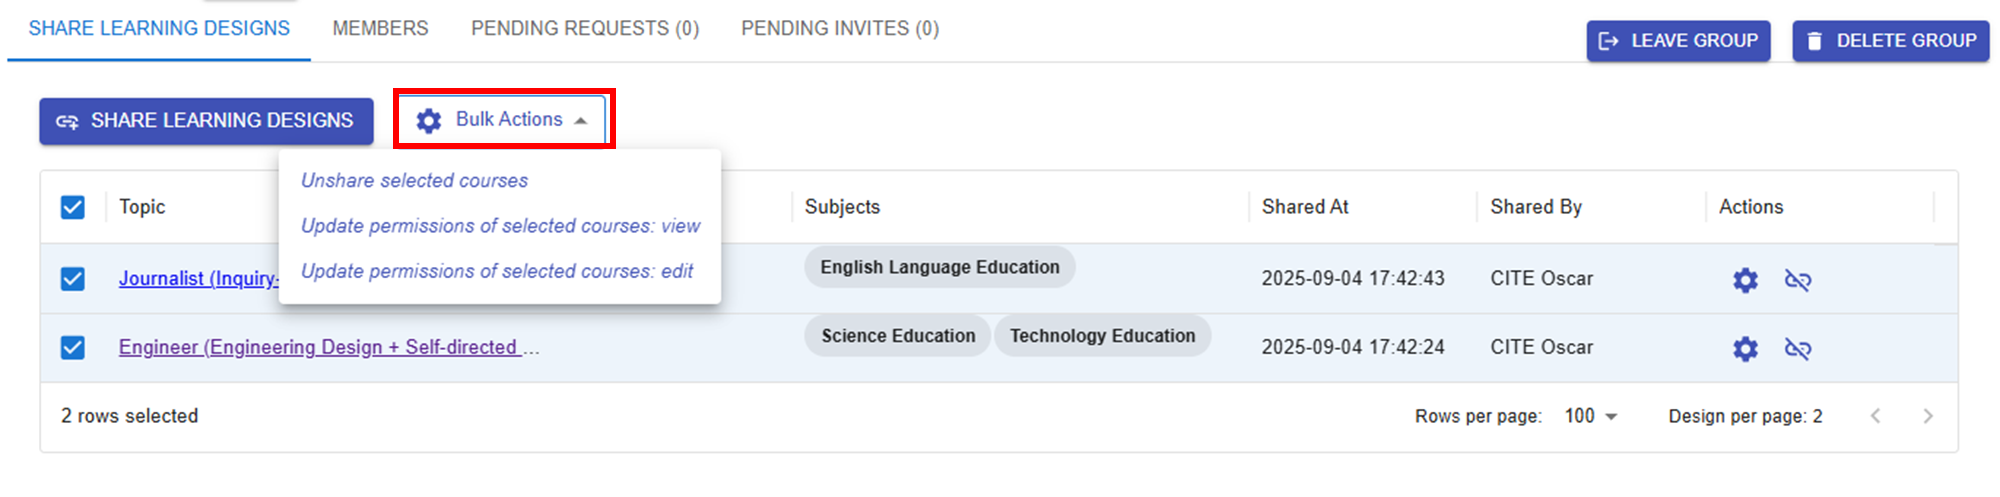
Figure 10.15: Updating the Sharing Conditions of the Designs
Once you've shared your designs, they will appear in the group. You can use Bulk Actions to unshare designs or change their permissions at any time. |
|
2.2 Manage Group Members
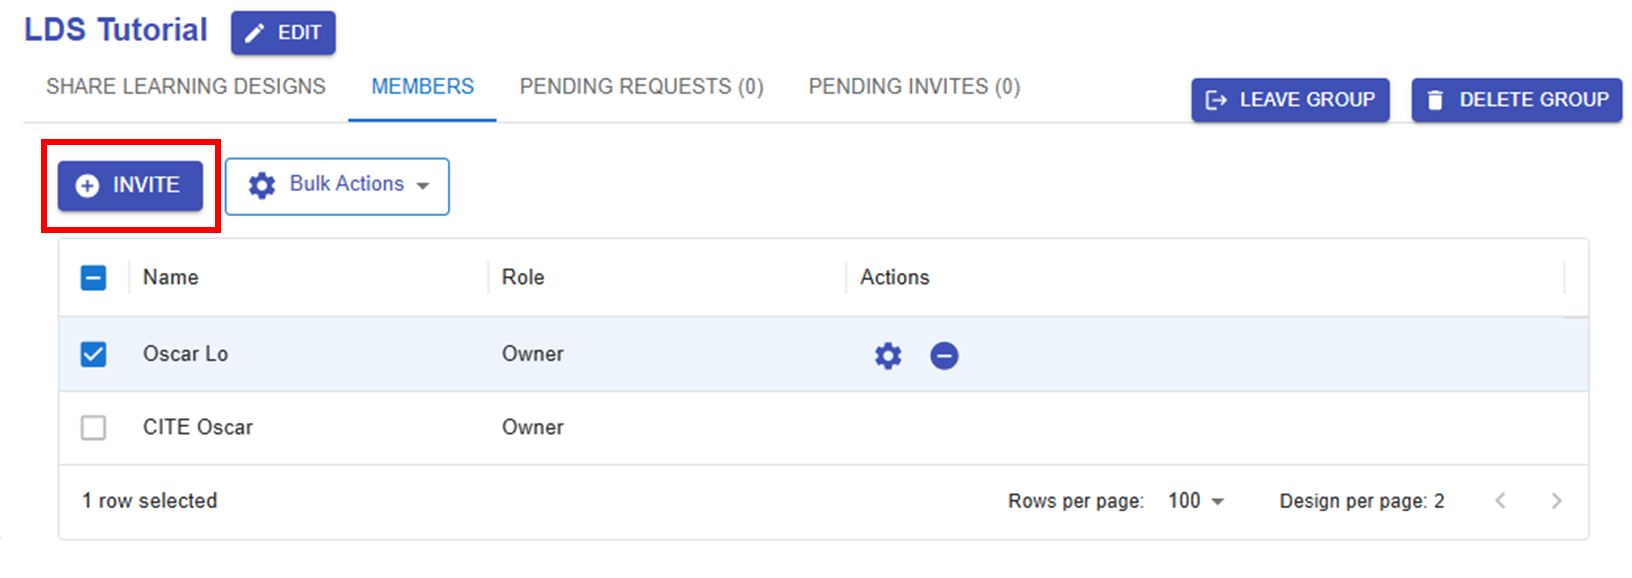
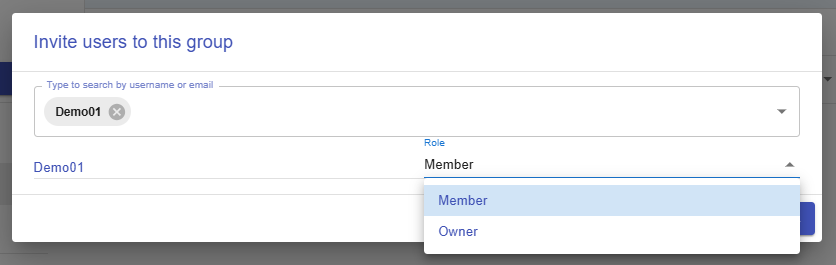
Figure 10.16: Inviting Users to the Group
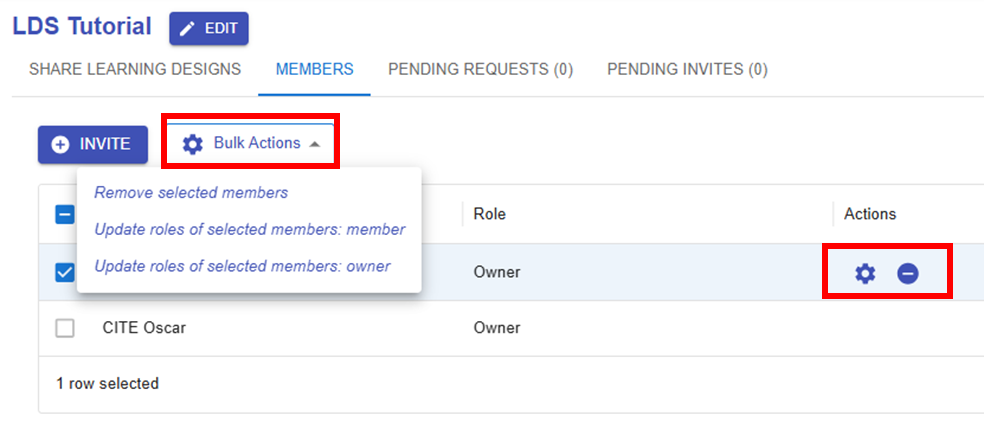
By clicking the
Figure 10.17: Managing a User
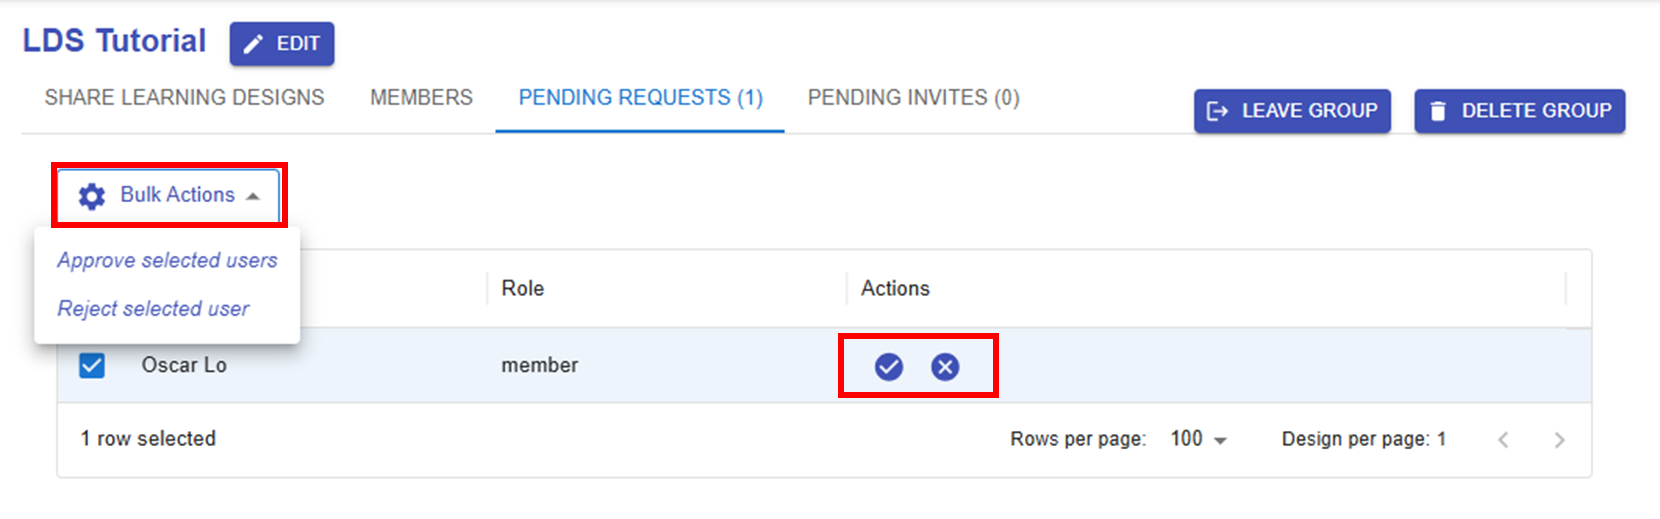
Figure 10.18: Pending Requests
|