10. Sharing and Collaboration
- 10.1 Sharing Designs Publicly
- 10.2 Sharing Designs with Individual Users
- 10.3.1 Sharing Designs within a Group - What is a Group?
- 10.3.2 Sharing Designs within a Group - Creating and Managing a Group
10.1 Sharing Designs Publicly
In this section, we will explore how to share your learning design with public users.
|
1. Clicking the Share Button There are two places where the Share button can be found. The first is on the My Library page.
Figure 10.1: Sharing the Design (1)
The second location is the Course Information page within a learning design.
Figure 10.2: Sharing the Design (2)
|
|
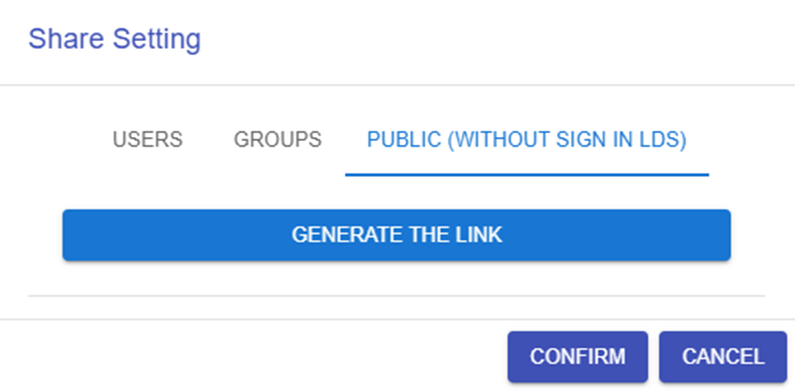
2. Generating / Closing the Shareable Link
Figure 10.3: Enabling the Link for Public Sharing
|
|
3. View the Learning Design
Figure 10.4: Public View of the Shared Design
|


10.2 Sharing Designs with Individual Users
In this section, we will explore how to share your learning design with individual users.
|
1. Clicking the Share Button
Figure 10.5: Sharing the Design
|
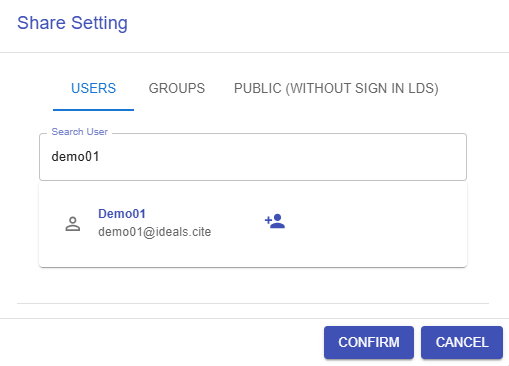
|
Figure 10.6: Searching for the user
|
|
Figure 10.7: The Library of Shared Design
|


10.3.1 Sharing Designs within a Group - What is a Group?
In the following sections, we will explore what a group is in the Learning Design Studio (LDS) and how it can help you collaborate with your team.

A group in the LDS allows you to invite your team or organization to collaborate together. You can share learning designs with group members and co-design collaboratively.
1. Feed
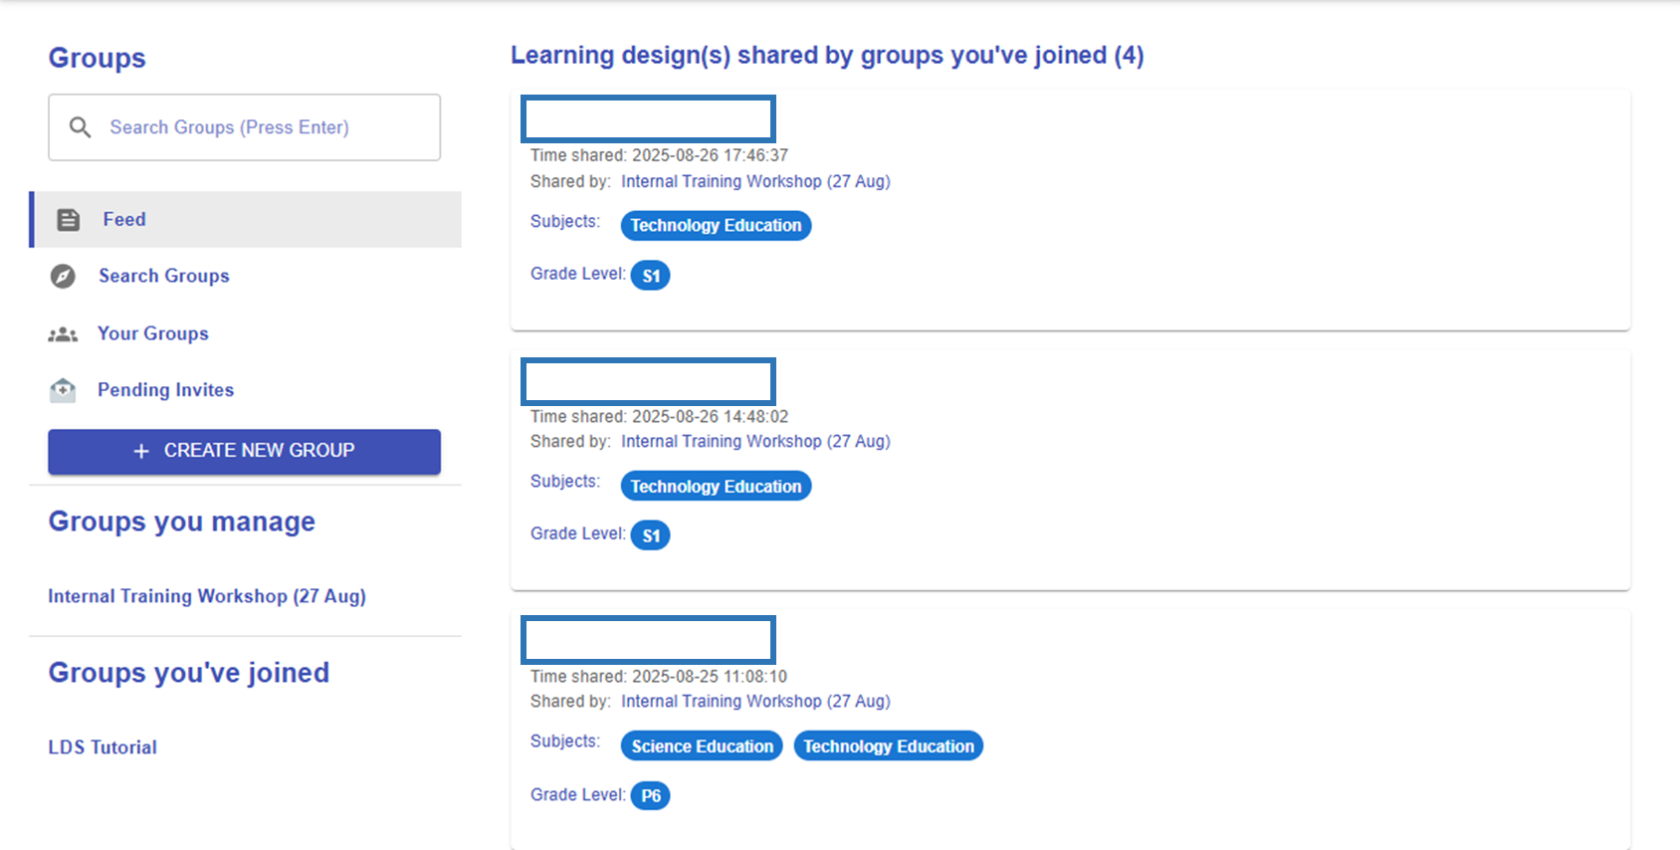
Figure 10.8: The Feed
The feed, similar to social media, shows the most recently shared designs from your groups.
2. Search Groups
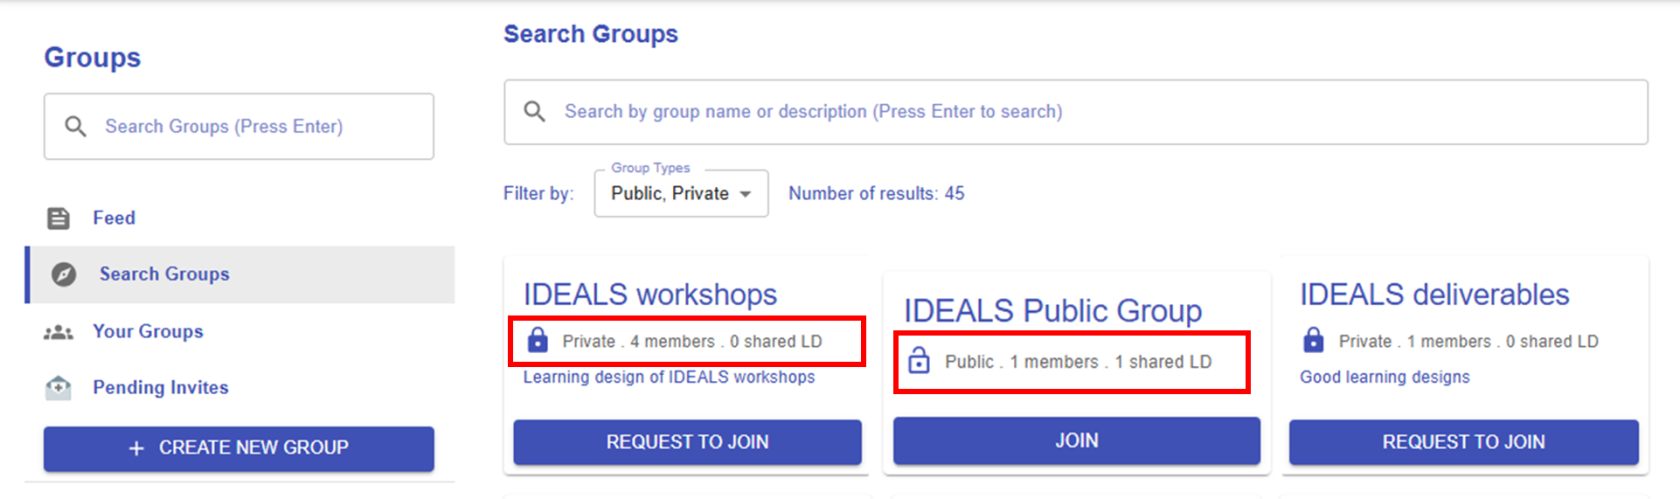 Figure 10.9: The Search Function
There are two types of groups: public and private. You can join a public group at any time, while private groups require you to send a request. As school-based groups are usually private, you can simply search for your school’s name to request to join.
3. Your Groups
|
Figure 10.10: Your Groups List |
Groups you manage
All groups you've joined
|

4. Pending Invites
|
Figure 10.11: Group Invitation |
|
|
Figure 10.12: Invitation Notification |
If you receive a group invitation, you will get a notification from the system. By clicking on it, you will be redirected to the Pending Invites section shown in Figure 9.10 above. You can either accept or decline the invitation. After accepting, the invitation will move from "Pending Group Invites" to "Accepted Group Invites." |


10.3.2 Sharing Designs within a Group - Creating and Managing a Group
In this section, you will learn how to create a new group, share designs, and manage members.
1. Creating a New Group
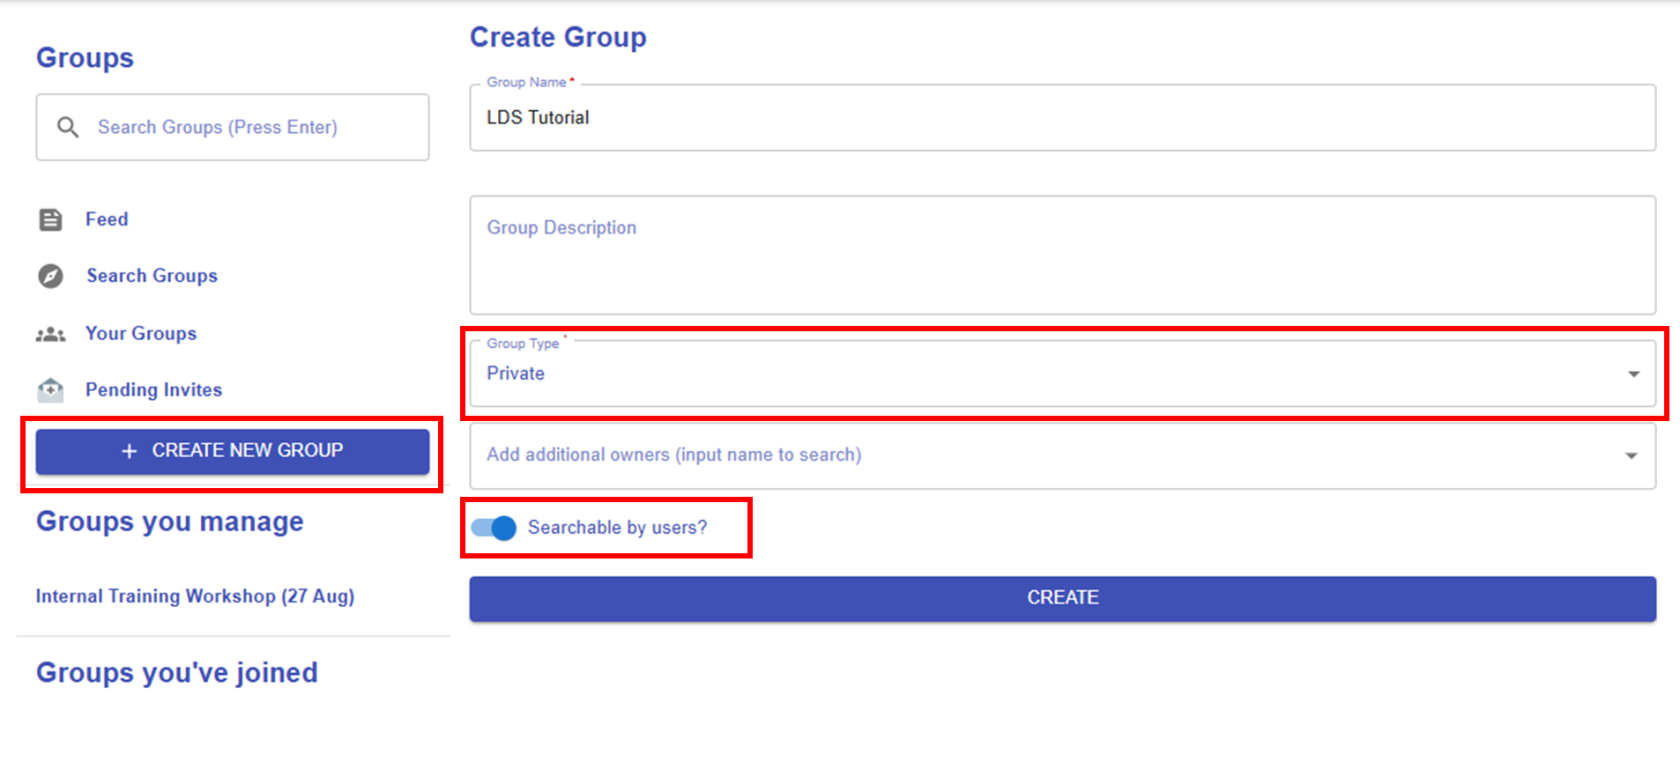 Figure 10.13: Creating a New Group
As mentioned, there are two types of groups, "Private" and "Public". If you choose "Private", you will see an additional option: "Searchable by users". If you enable this option, your group will appear in the group list and can be searched by users. You can change this setting at any time after creating the group.
2. Managing a Group
|
2.1 Share a Learning Design
Figure 10.14: Sharing a Design within the Group
By clicking the "SHARE LEARNING DESIGNS" button, you can select an existing design to share and set permissions to either "Can Edit" or "Can View".
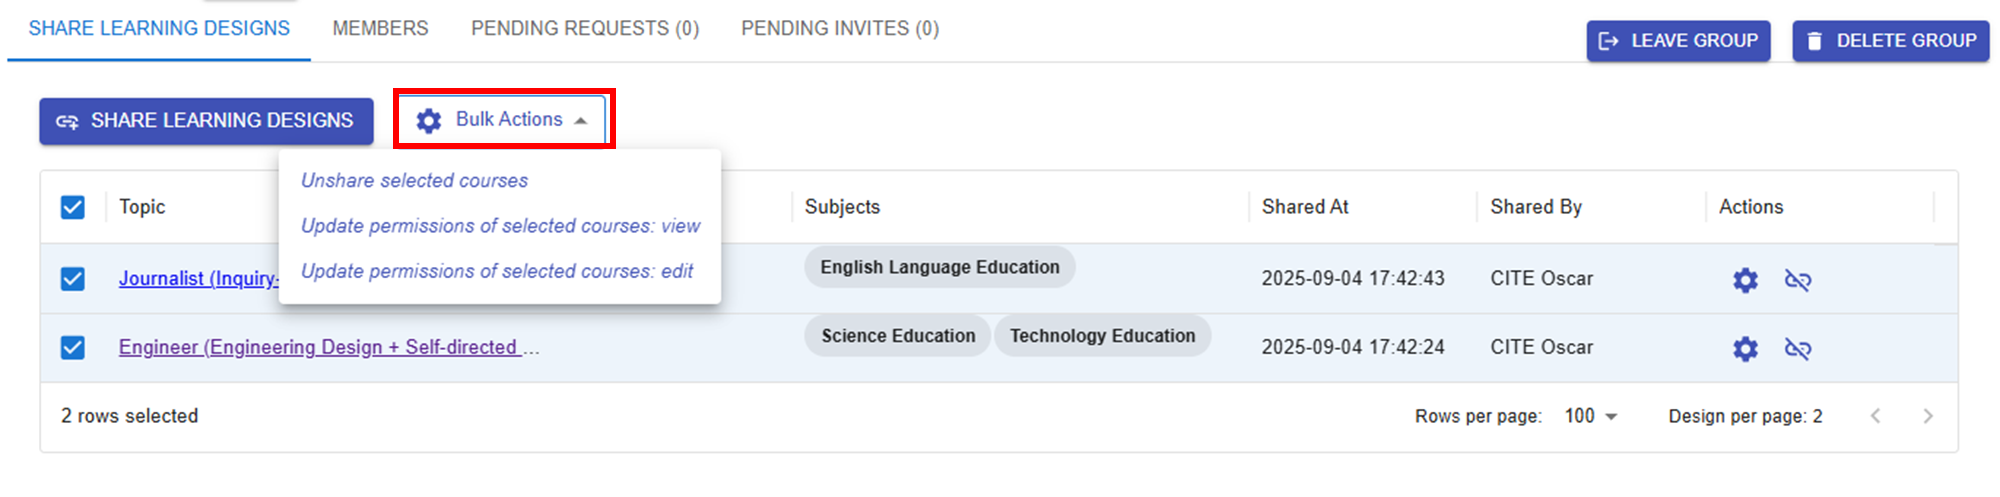
Figure 10.15: Updating the Sharing Conditions of the Designs
Once you've shared your designs, they will appear in the group. You can use Bulk Actions to unshare designs or change their permissions at any time. |
|
2.2 Manage Group Members
Figure 10.16: Inviting Users to the Group
By clicking the
Figure 10.17: Managing a User
Figure 10.18: Pending Requests
|